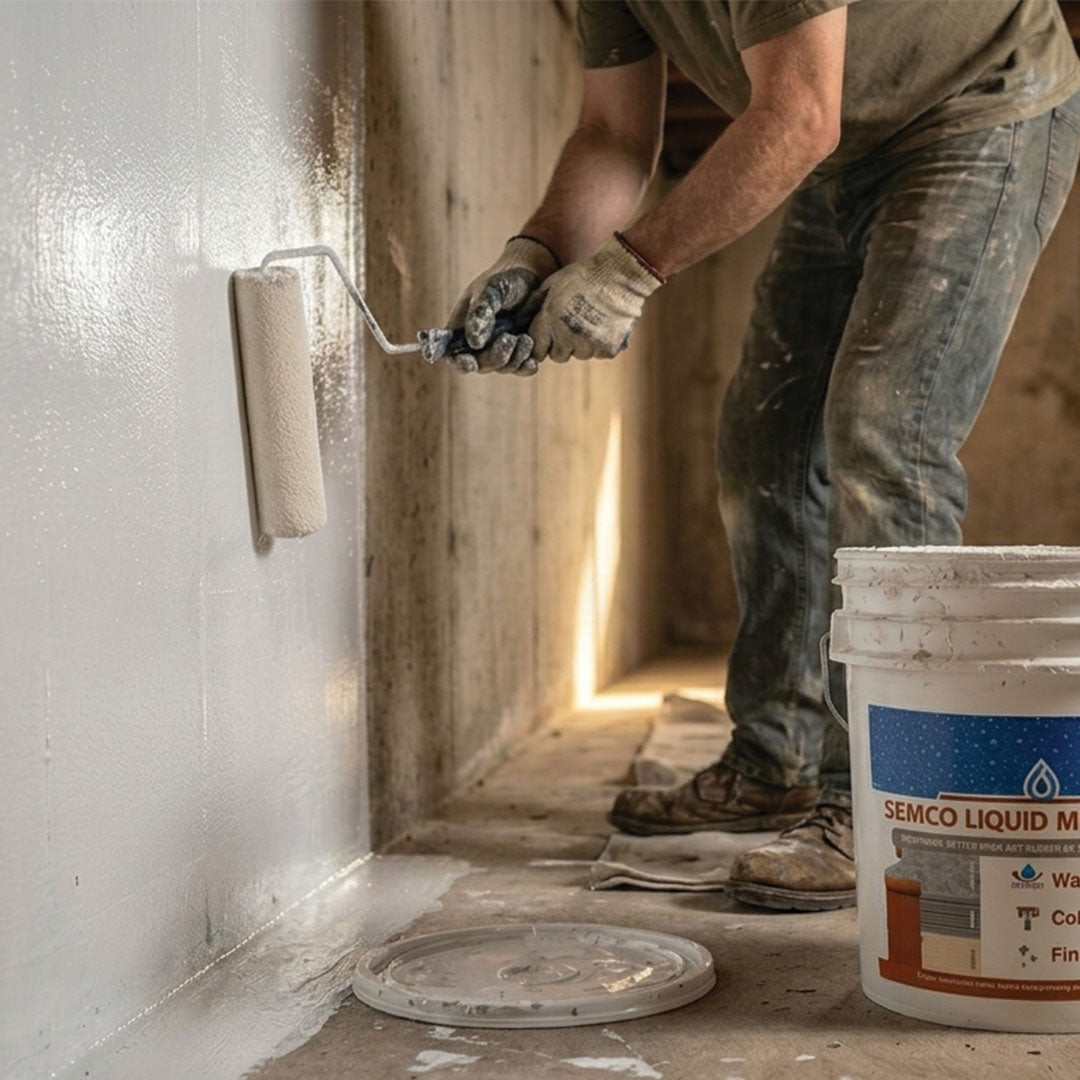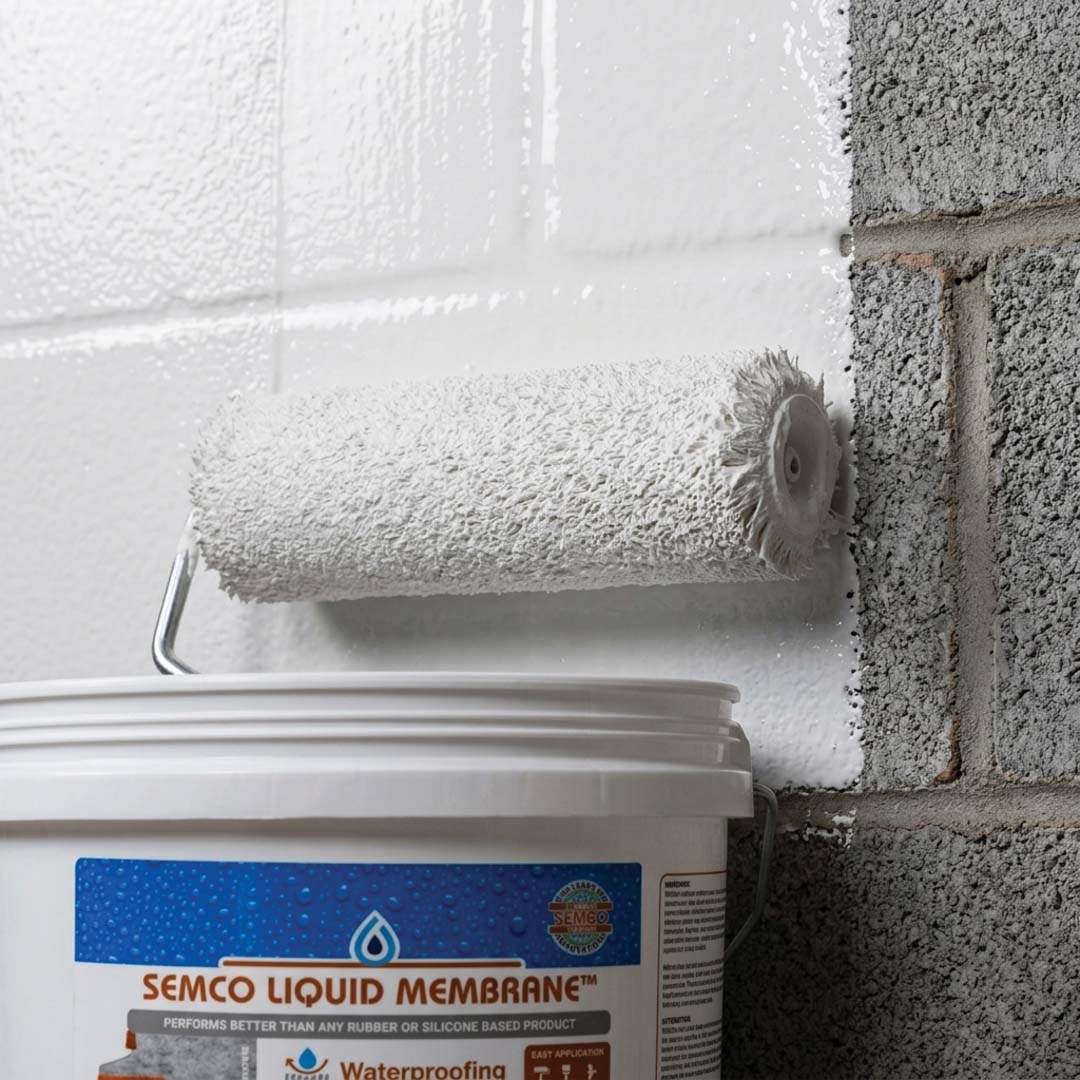

Quick answer: Tile and grout are not waterproof on their own, so every shower needs a continuous waterproofing membrane applied directly to the wall and floor substrate before tile goes on. The most DIY-friendly option is a liquid-applied membrane like SEMCO Liquid Membrane, rolled or brushed on in two coats of 15 to 20 mil each over cement board, with SEMCO Fabric Reinforcement embedded at every seam, corner, and fixture penetration. Once cured, the membrane is flood-tested, then tiled over directly.

Why Tile Alone Doesn't Waterproof a Shower
Grout and even tile itself are porous. Water works its way through hairline gaps over time, and once it reaches the wall studs or subfloor, it doesn't evaporate the way it does on an exposed surface. That's how showers cause hidden rot and mold long before anyone sees a stain. The waterproofing layer has to sit behind the tile, not rely on it.
There are two common approaches to shower waterproofing: sheet membranes (pre-formed sheets set into thinset) and liquid-applied membranes (painted or rolled directly onto the substrate). Liquid membranes are the more approachable option for most DIYers because they require no special cutting or seaming skills, they conform to irregular shapes like curbs and niches, and they cure into a single seamless barrier. A silicone-based coating is a third option worth knowing about too: it cures faster, but it's built for a narrower under-tile job than a full liquid membrane. See our water-based vs silicone-based shower waterproofing comparison for how to pick between them. If you're waterproofing other parts of the house at the same time, our essential guide to waterproofing every area of your home covers the full picture.
What You'll Need
- SEMCO Liquid Membrane
- SEMCO Fabric Reinforcement (non-woven fabric strip, not a mesh) for seams, inside corners, and fixture penetrations
- Cement board or another tile-rated substrate (not drywall, except in splash zones above the tile line, see our notes on which substrates liquid membranes can go over)
- A small roller or brush for application
- A utility knife to cut the reinforcement fabric
Before you buy, it's worth pricing the whole job out. Our shower waterproofing cost breakdown compares DIY material cost against a professional quote, coat by coat and dollar by dollar, so you know what a standard shower runs before you commit.
Step-by-Step: How to Waterproof a Shower Before Tiling
- Prep the substrate. Install cement board (or confirm your existing substrate is tile-rated), and make sure it's clean, dry, and free of dust.
- Cut and place SEMCO Fabric Reinforcement at every seam, corner, and the floor-to-wall joint. Every inside corner, the wall-to-floor seam, and any board joint is a potential crack point. Pre-cut strips to length before you start coating.
- Apply the first coat of SEMCO Liquid Membrane. Roll or brush a generous, even coat over the entire wall and floor area, working the membrane into the reinforcement fabric so it's fully embedded with no dry threads showing.
- Let the first coat dry, then apply a second coat. Liquid-applied membranes generally need at least two full coats to achieve a continuous, pinhole-free barrier; with SEMCO Liquid Membrane, apply each coat at 15 to 20 mil. Follow the recoat and cure times on your product label.
- Pay extra attention to the shower pan and drain. Make sure the membrane ties into the drain flange according to the drain manufacturer's instructions, with no gaps.
- Flood-test before you tile. Plug the drain, fill the shower pan with water to just below the curb, and let it sit for at least 24 hours. If the water level doesn't drop, the membrane has passed.
- Tile directly over the cured membrane using a polymer-modified thinset compatible with liquid membranes.
Common Mistakes That Cause Shower Leaks Later
Skipping fabric reinforcement at corners and seams is the single most common cause of early cracking, since those are the points that move slightly as a house settles. Applying tile before the membrane has fully cured is the second most common mistake. Using regular drywall instead of a tile-rated substrate behind the membrane is the third, since drywall breaks down when it stays damp.
Frequently Asked Questions
Do I need to waterproof a shower if I'm using cement board?
Yes. Cement board is water-resistant, not waterproof. It will not disintegrate like drywall, but water can still pass through the board and its seams unless a membrane like SEMCO Liquid Membrane is applied over it.
Can I use a liquid membrane on both walls and the shower floor?
Yes. Liquid-applied membranes are typically rated for both vertical and horizontal (floor and pan) applications, which is part of why they're popular for full DIY showers rather than needing a separate sheet system for the pan.
How long does shower waterproofing membrane last?
Properly applied liquid membranes behind tile commonly last a decade or longer, since they're fully protected from UV and physical wear once tiled over. The tile and grout are what typically need resealing over time, not the membrane underneath.
What happens if I skip the flood test?
You won't know if there's a leak until it shows up as water damage in an adjacent room or floor below, often months or years later and after the tile is already installed. The flood test is the only real way to confirm the membrane is intact before you commit to tile.
Products used in this guide: SEMCO Liquid Membrane, SEMCO Fabric Reinforcement.
Related reading: