



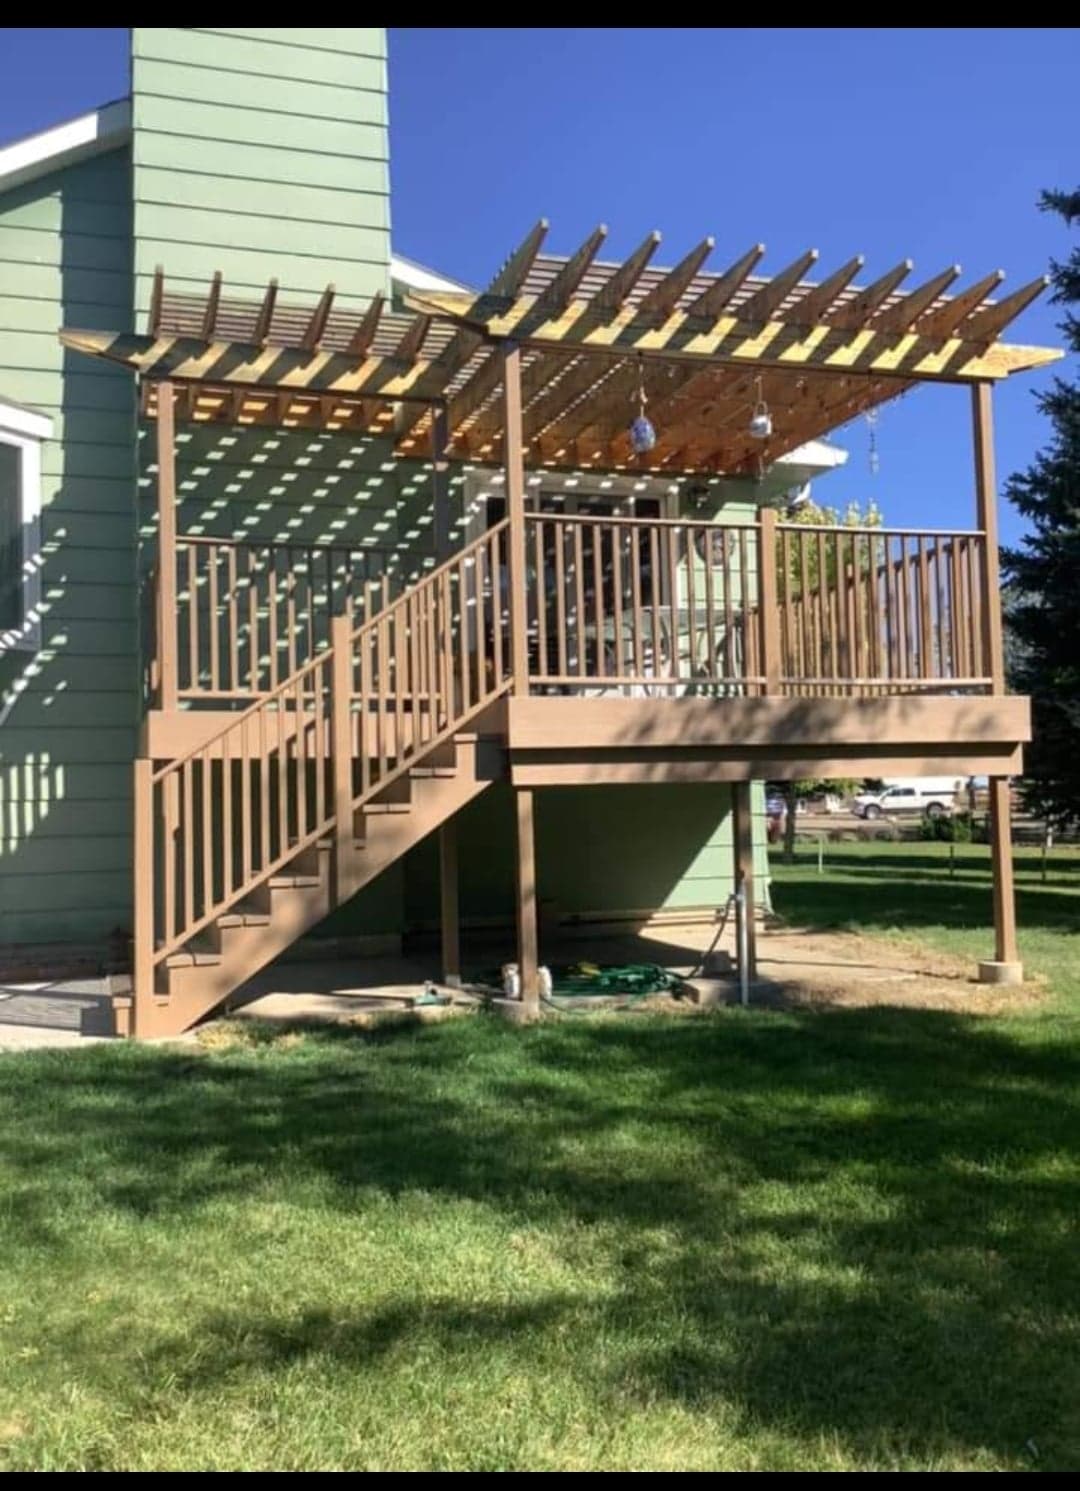
Projects › Wood Decks & Balconies
Stop staining it. Wrap the boards instead.
Stain soaks in and wears off, so you're back on your knees every other spring. A liquid membrane encapsulates each board — face, edges and end grain — then a sealer takes the foot traffic.
Not a stain. Not a paint.
Four steps. Encapsulate the boards.
A stain soaks in and wears off. This wraps each board in a flexible waterproof skin, then a sealer takes the foot traffic.
Strip and sand
Pressure wash, then sand off every trace of old stain or finish with 60-grit. Bare wood needs no cleaner — it needs abrasion. This is Prep E.
Reinforce the gaps
Fabric Reinforcement into the wet coating at board joints, end grain, and where the deck meets the house. End grain is where water gets in.
Three coats of membrane
Bare wood drinks the first coat — that’s expected, and it’s why decks take three. Thin and even, each coat perpendicular to the last. Each coat 15–20 mil.
Seal it for traffic
Once the membrane is fully cured, three coats of Titan Shield with Non-Skid Additive. A deck walks, so this step isn’t optional.
Bare wood uses roughly twice the materialOne customer coated a 312 sq ft deck and used three gallons — about 100 sq ft per gallon, not the 200 a sealed surface gives. The calculator below sizes for bare wood by default so you order once, not three times.
Your deck
What does your deck need?
Deck area and the state of the boards. We’ll size the membrane, the sealer and the non-skid — at the coverage bare wood actually gives.
Length × width. Add stair treads and railings separately if you’re coating those too.
Tell us the board condition and the area — we’ll size the whole job.
Untick anything you already have. Quantities are editable.
Will it work on mine?
Decks, balconies and everything under them.
The most common deck board, and the thirstiest. Sand off any old finish and plan on three coats.
Prep E: sand with 60-gritSand back to bare timber. Oily hardwoods need a wipe with solvent after sanding so the coating can key.
Prep E: sand with 60-gritExterior balconies over living space. One customer coated a plywood balcony and reported adhesion and coverage exceeding expectations.
Prep E: sand with 60-gritCoating the underside and joists keeps damp and animals out of the structure — worth doing while the boards are up.
Prep E: sand with 60-gritSame system. Non-skid matters most on treads, where a wet gloss finish is genuinely dangerous.
Prep E: sand with 60-gritRotten or spongy boards, or a deck with structural movement. Replace the bad boards first — a coating seals a surface, it can’t restore rotted timber.
Real decks
Boards that stopped weathering.
Selected from 185 deck and wood reviews, with the owners’ own photos.
“Encapsulated my wood decking as I wanted.”
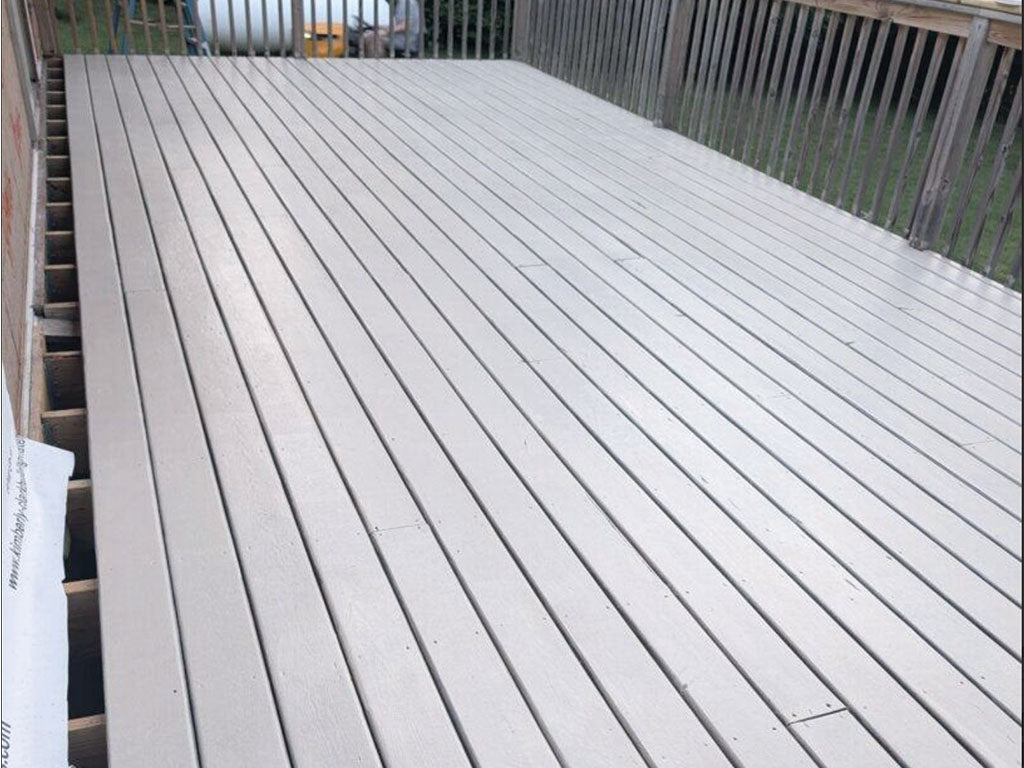
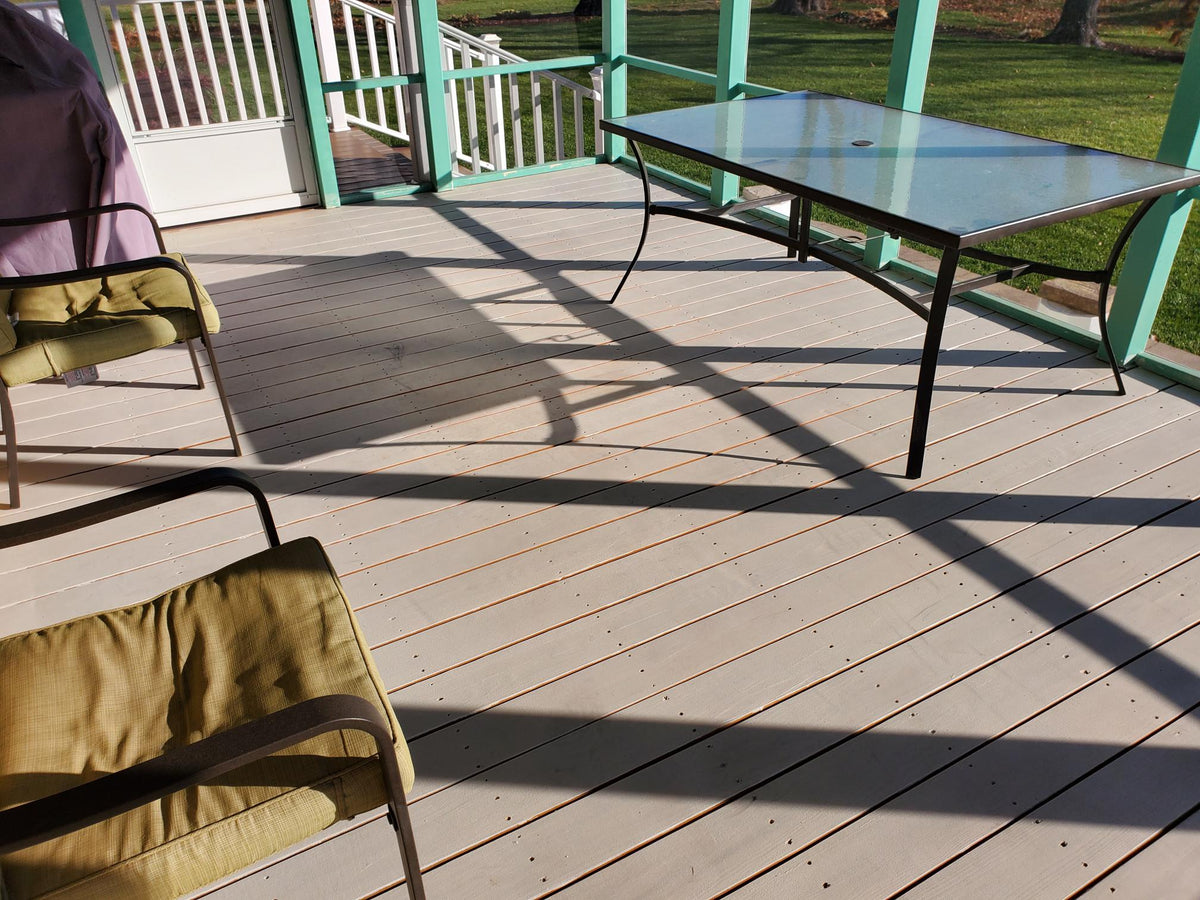
My goal was to have a nice even colored product that “encapsulated” the wood deck boards to make them feel like the more expensive composite decking. I pressure washed the deck, sanded all of the old finish off and then applied 3 coats of liquid membrane and 3 coats of titan shield with the anti skid additive. The color I chose was Sandy Beige. It seemed true to the swatch online. Product applied well, dries fast, encapsulated my wood decking as I wanted.
“Coverage, consistency and durability exceeded expectations.”
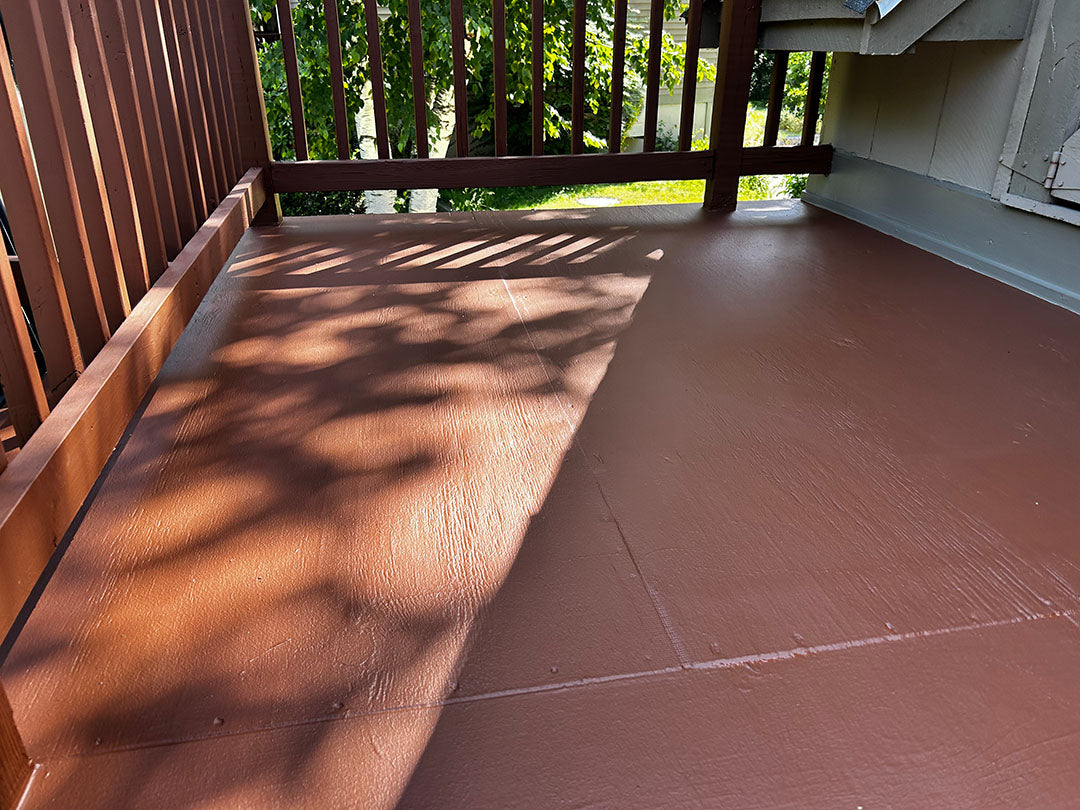
The Liquid Membrane delivers excellent adhesion, dries fast, and creates a flexible waterproof layer that performs exactly as advertised. I used it on an exterior balcony over plywood, and the coverage, consistency, and durability exceeded expectations. It’s easy to apply, bonds extremely well, and gives a clean, professional finish.
“Remember this is not paint.”
Amazing coating. Just remember this is not paint — make sure to give it plenty of time to fully cure before placing furniture back on a deck or allowing foot traffic.
“The difference was immediately noticeable.”
Flat concrete roof deck above living spaces below. Absolutely love the liquid membrane. Application was easy for me the homeowner and we’ve had a couple wet days since installing the SEMCO and it is perfect. It also looks great. It had been previously sealed and the difference between the old sealer and the SEMCO was immediately noticeable.
“So the animals and damp don’t destroy it.”
This is for our deck underneath the boards so the animals and damp don’t destroy it.
“Once three coats are applied, it makes a water tight deck.”
I am using it as a roof deck sealer. Once 3 coats are applied, it makes a water tight deck. Once it dries, it is very tough and durable.
Why decks keep needing redoing
A stain soaks in. A membrane wraps around.
Deck stain penetrates the timber and colors it, then sits there while UV breaks it down and water moves in and out of the grain. The board swells, shrinks, checks and greys. That’s why staining is a two-year cycle rather than a fix.
A liquid membrane does the opposite. It cures into a flexible skin around each board — over the face, the edges and the end grain, which is where water actually enters. The timber stops taking on and losing moisture, so it stops moving. Then a sealer over the top takes the foot traffic that would otherwise wear the membrane.
The full version
Detailed application instructions.
01 Strip, sand and dry
Prep E · 60-grit · no cleaner
- Pressure wash to remove dirt, algae and loose fibres.
- Sand off every trace of old stain, sealer or paint with 60-grit. The coating bonds to bare timber, not to what was on it.
- Vacuum or blow off all dust.
- Let the wood dry fully — days, not hours, after washing. Wood holds water long after the surface looks dry.
02 Reinforce joints and end grain
You’ll need: Fabric Reinforcement · Liquid Membrane
End grain is the thirstiest part of any board and the first place rot starts. Treat it before you coat the field.
- Coat the joint, board end or transition generously.
- Lay Fabric Reinforcement into the wet coating and press it flat.
- Wait 10–15 minutes, then coat over it to encapsulate.
03 Three coats of membrane
Each coat: 15–20 mil. Keep every coat in that range — thicker traps moisture and stays tacky, thinner leaves the membrane short of waterproof.
- Stir the product well — pigments settle and unstirred product gives uneven color.
- First coat goes into the timber and will look thin. That’s the wood drinking it, and it’s normal.
- Recoat when it holds no fingerprint. Run each coat perpendicular to the last.
- Three coats on bare wood. Inspect for thin spots — it dries lighter, which makes them easy to see.
04 Cure, then seal
Wait about 2 days after the last coat of membrane, then seal: three coats of Titan Shield Gloss or two of Sealer MATTE, about 6–8 mil per coat, with Non-Skid Additive mixed in. The membrane still needs its full 7-day cure before heavy use.
| Membrane, each coat | 15–20 mil · thin and even |
| Bare wood coverage | ~100 sq ft per gallon at 3 coats |
| Previously coated | ~150 sq ft per gallon at 3 coats |
| Sealer coverage | Titan ~150 · Matte ~120 sq ft/gal |
| Sealer over membrane | ~2 days after the last membrane coat |
| Sealer thickness | ~6–8 mil per coat |
| Initial cure | 7 days minimum · longer if humid |
| Temperature | 50–85°F · out of direct sun |
| Prep | Prep E — sand with 60-grit, no cleaner |
Before you start
Additional information.
The manufacturer notes that decide whether this goes well. Most of the problems people report trace back to one of these.
Stop restaining it every spring. Wrap the boards.
Greying, splintering, checking — all of it is water moving in and out of the grain. Seal the grain and the movement stops.
Size my deckDeck questions
The ones worth asking.
How much will I actually need?
On bare wood, plan on roughly 100 sq ft per gallon at three coats — about half what a sealed surface gives, because timber absorbs the first coat. The coverage calculator on the Wood Decks & Balcony page uses that figure by default. If your deck has a sound existing coating, it goes further.
Do I have to sand off the old stain?
Yes. The membrane bonds to bare timber, not to a stain that’s already letting go. 60-grit, and take it all off — this is the step that decides whether the job lasts.
Will it be slippery when wet?
A sealed deck can be, which is why Non-Skid Additive is ticked by default in the Wood Decks & Balcony page calculator. It mixes into the sealer before you roll, so it has to go in at the time — it can’t be added later.
Can I put my furniture back?
Not until it’s fully cured. Seal about 2 days after the last coat of membrane, then give the membrane its full 7-day minimum cure — longer with thick coats or high humidity — before furniture or foot traffic. A customer’s own advice: this is not paint, give it the time.
What about the gaps between boards?
Coat the edges and end grain as you go — that’s where water gets into a board. Fabric Reinforcement at board joints and at the wall junction is worth the extra hour.
Will it look like plastic?
It encapsulates the boards rather than staining them, so it reads as an even colored surface rather than visible grain. One customer chose it specifically to make pine look closer to composite decking.
How long does the whole job take?
Longer than a weekend if you do it properly. Sand, three coats of membrane, wait about 2 days, then three coats of sealer — and let it all cure. One customer spread it over two months around rain and family — and got the cure right as a result.
Can it waterproof plywood or OSB, including the edges?
Yes. Sand with 60-grit (Prep E), then coat every face you can reach — especially the edges and end grain, which drink water first and swell. Bare wood takes three coats at roughly 100 sq ft per gallon. Fabric Reinforcement goes over sheet joints.
Will the wood rot if moisture is trapped under the coating?
Not if you start dry. Coat only wood that is fully dry, and seal the exposed edges so water can’t get in from an uncoated side. Don’t coat over sheathing that is already wet or soft — dry it out or replace it first.
Not sure about your boards? Call 1-833-211-2297 — the team will tell you honestly if yours needs replacing instead.