You can waterproof a basement from the inside yourself in a weekend for minor to moderate water seepage, hairline cracks, or persistent humidity, using a liquid waterproofing membrane instead of hiring a contractor. The process is: dry and clean the surface, repair cracks, reinforce the floor-to-wall joint with fabric reinforcement, then roll on two coats of a flexible, crack-bridging membrane. For active flooding, bowing walls, or a high water table, interior work alone will not fix the underlying problem and you need a professional exterior or drainage solution instead.
Below is the full process, what it costs, the mistakes that cause interior waterproofing to fail, and how to know which category your basement falls into.
In This Guide
- Interior vs. exterior waterproofing: which do you need?
- What you'll need
- Step 1 to 6: the full application process
- Common mistakes that cause failures
- What it costs
- When to call a professional
- FAQ
Interior vs. Exterior Basement Waterproofing: Which Do You Need?
| Interior Waterproofing | Exterior Waterproofing | |
|---|---|---|
| What it does | Seals the inside face of walls and floors against moisture and minor seepage | Excavates around the foundation to stop water before it reaches the wall |
| Best for | Hairline cracks, dampness, high humidity, cosmetic staining | Active flooding, hydrostatic pressure, bowing walls |
| DIY friendly | Yes, roller or brush application | No, requires excavation equipment |
| Typical cost | Materials only, a few hundred dollars for an average basement | Several thousand dollars, professional labor required |
| Timeline | A weekend | Days to weeks |
If your basement shows damp walls, a musty smell, efflorescence (white mineral deposits), or hairline cracks, interior waterproofing with a liquid membrane addresses the problem directly. If you see water actively pooling on the floor after rain, or a wall that is visibly bowing inward, that is a structural and hydrostatic pressure issue, and it needs exterior drainage work first.

What You'll Need
- Wet/dry shop vacuum
- Stiff wire brush and a concrete cleaner (for efflorescence and surface contaminants)
- Hydraulic cement or a compatible filler for cracks
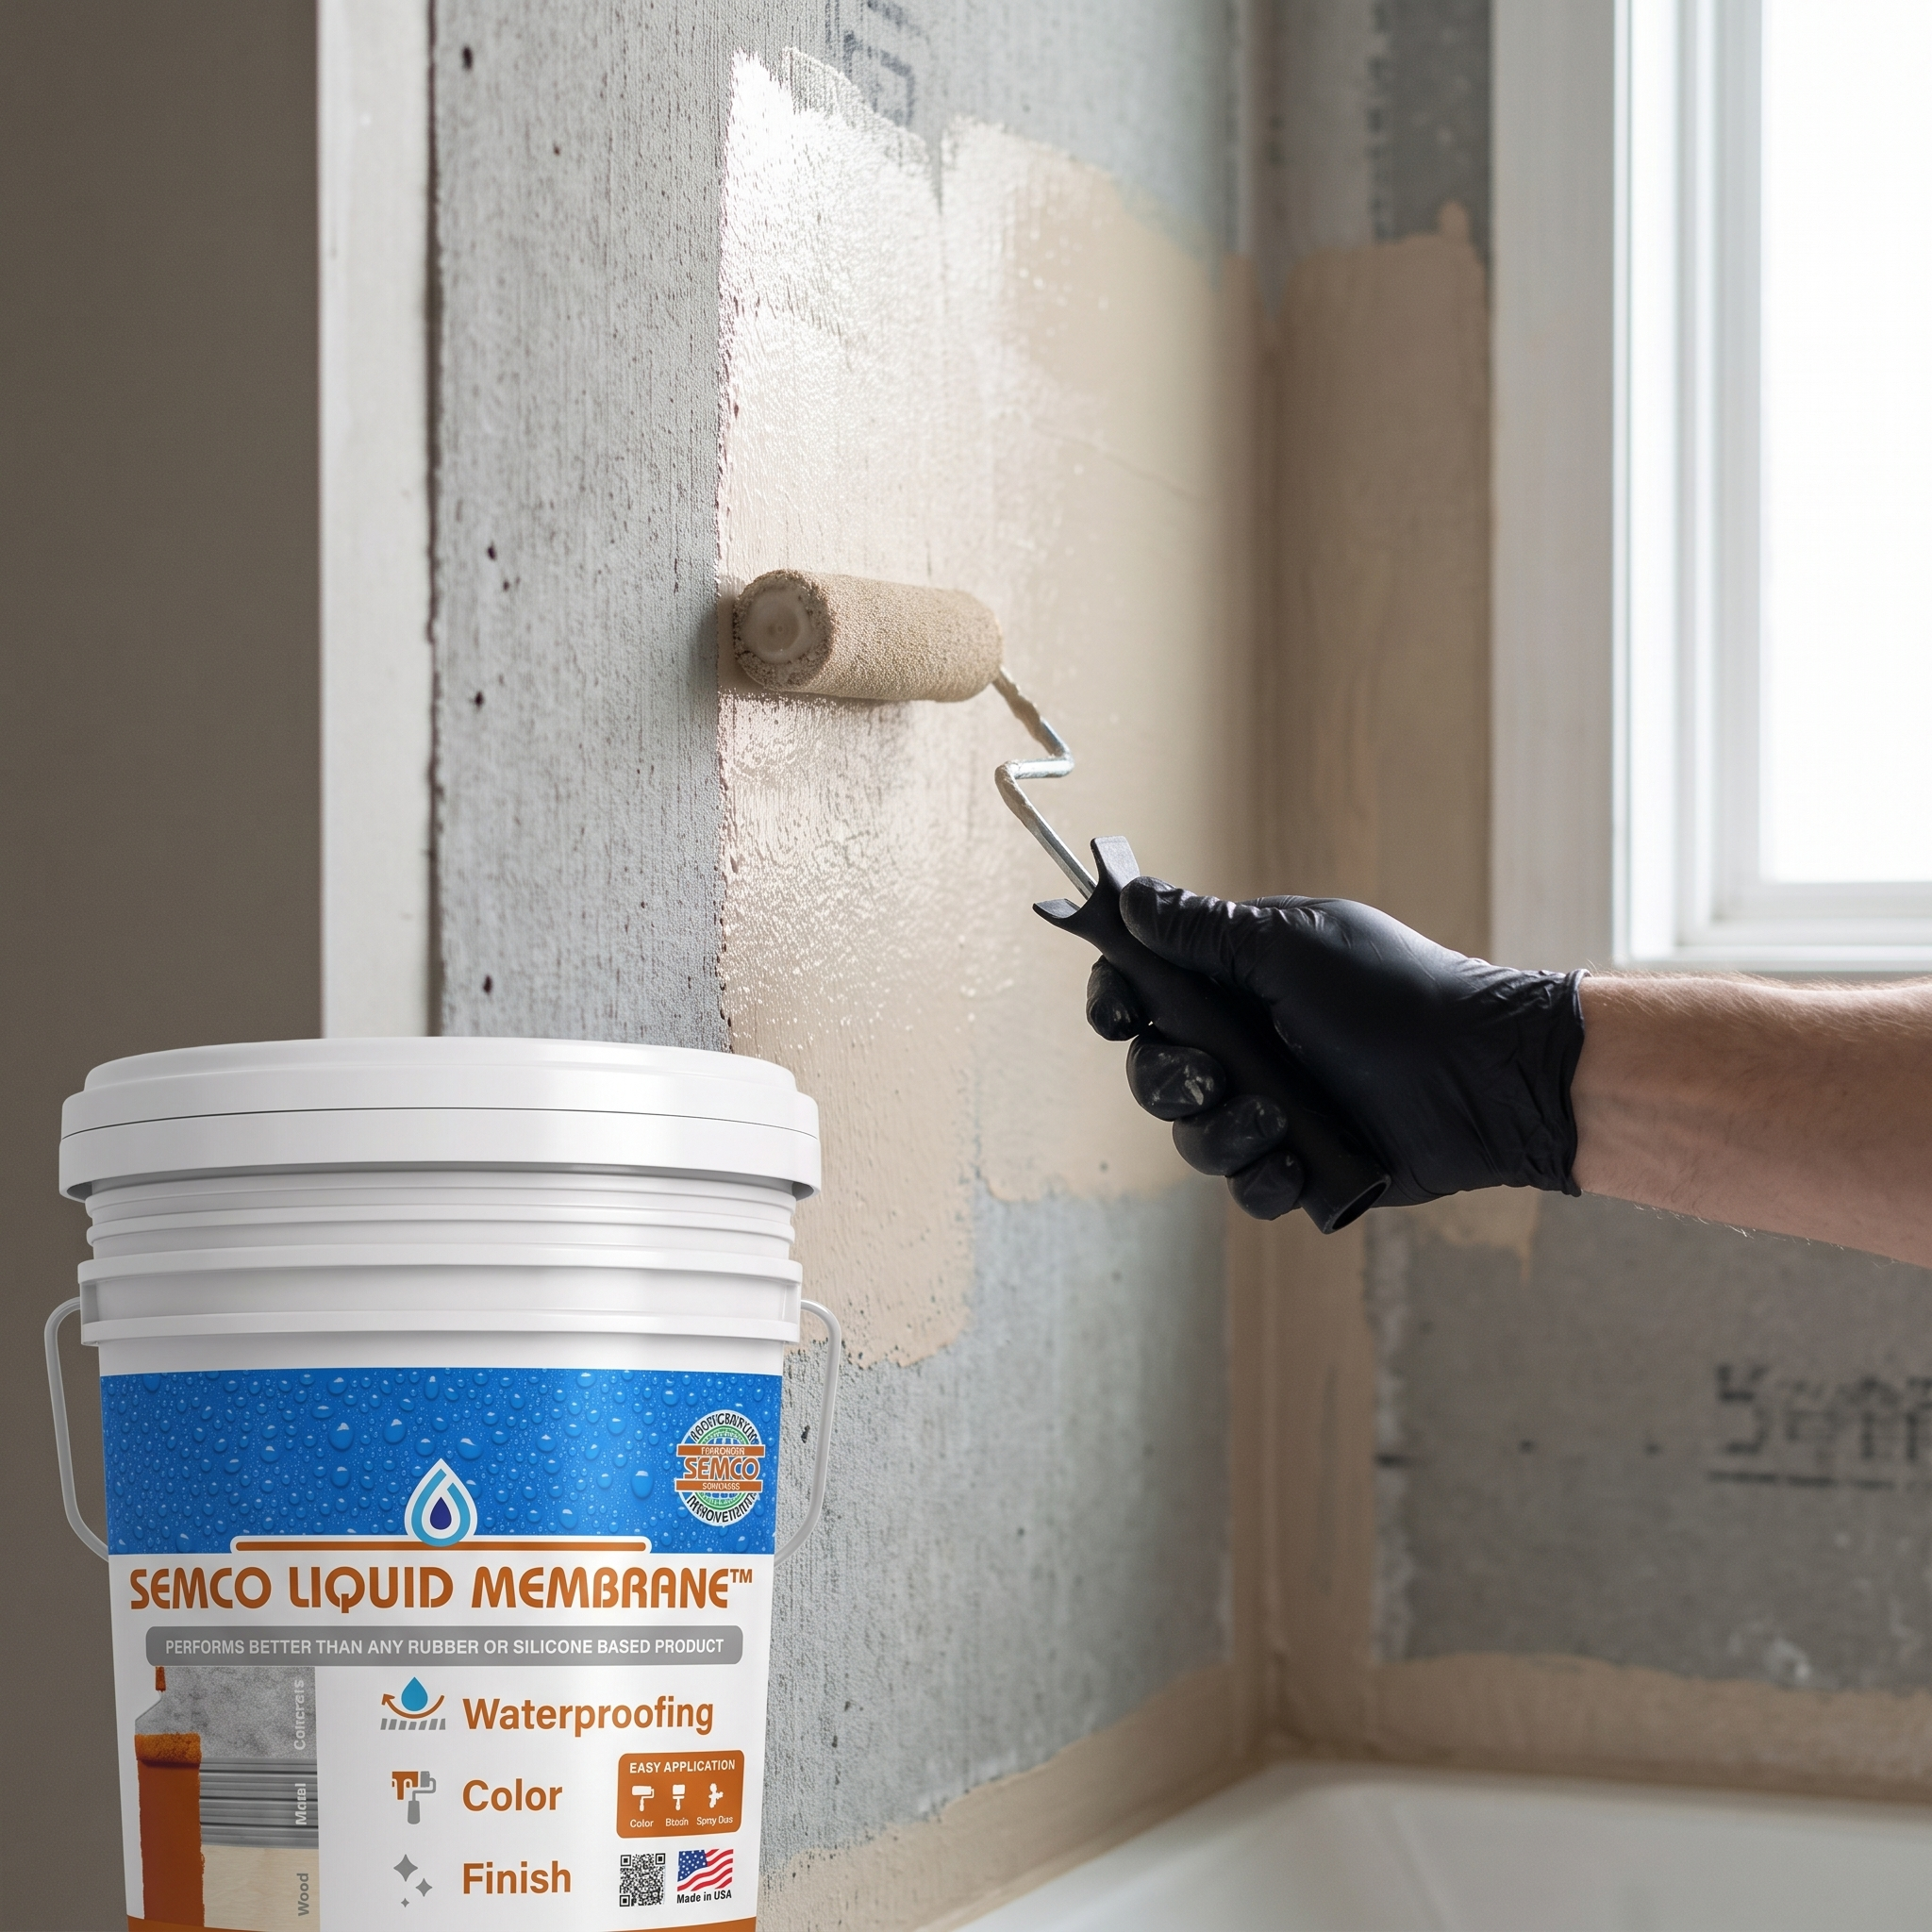
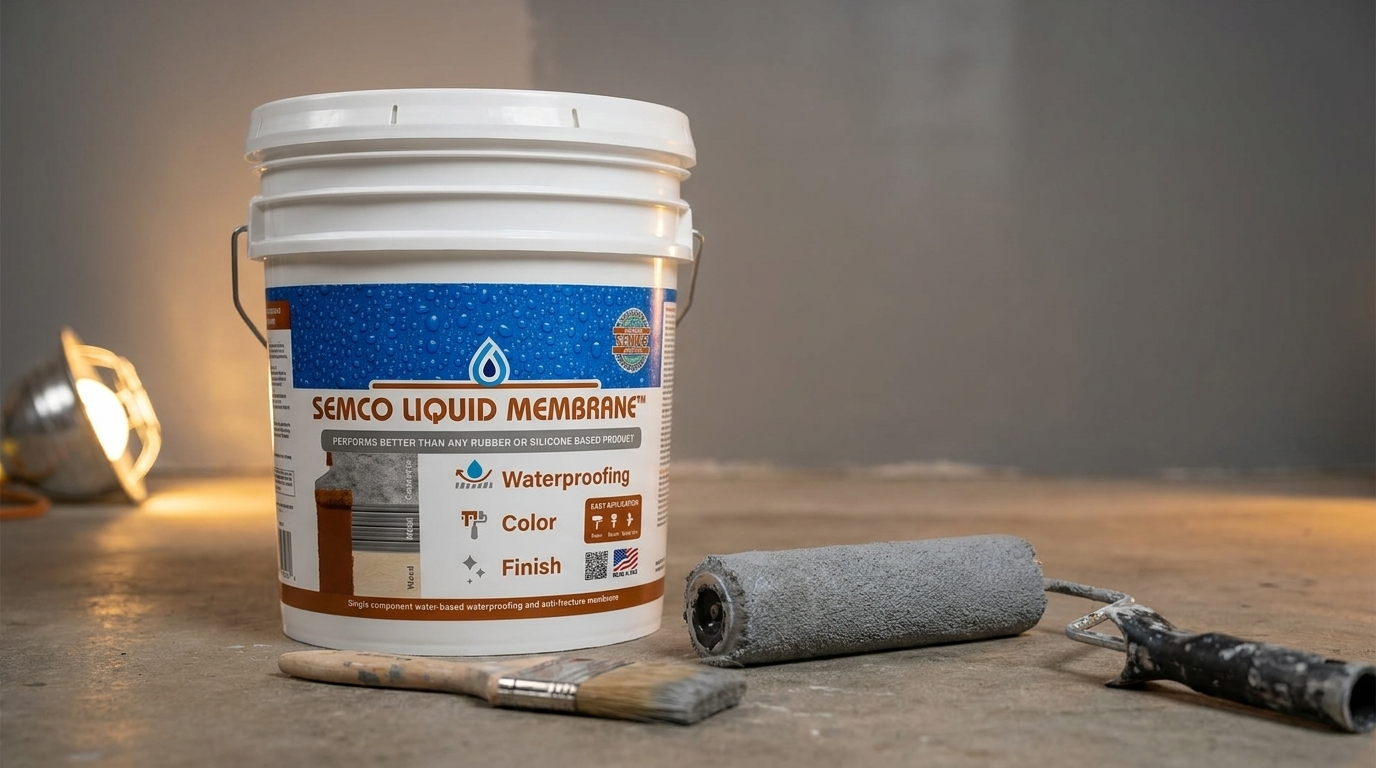
- A liquid waterproofing membrane, such as SEMCO Liquid Membrane™
- Fabric reinforcement for the floor-to-wall joint
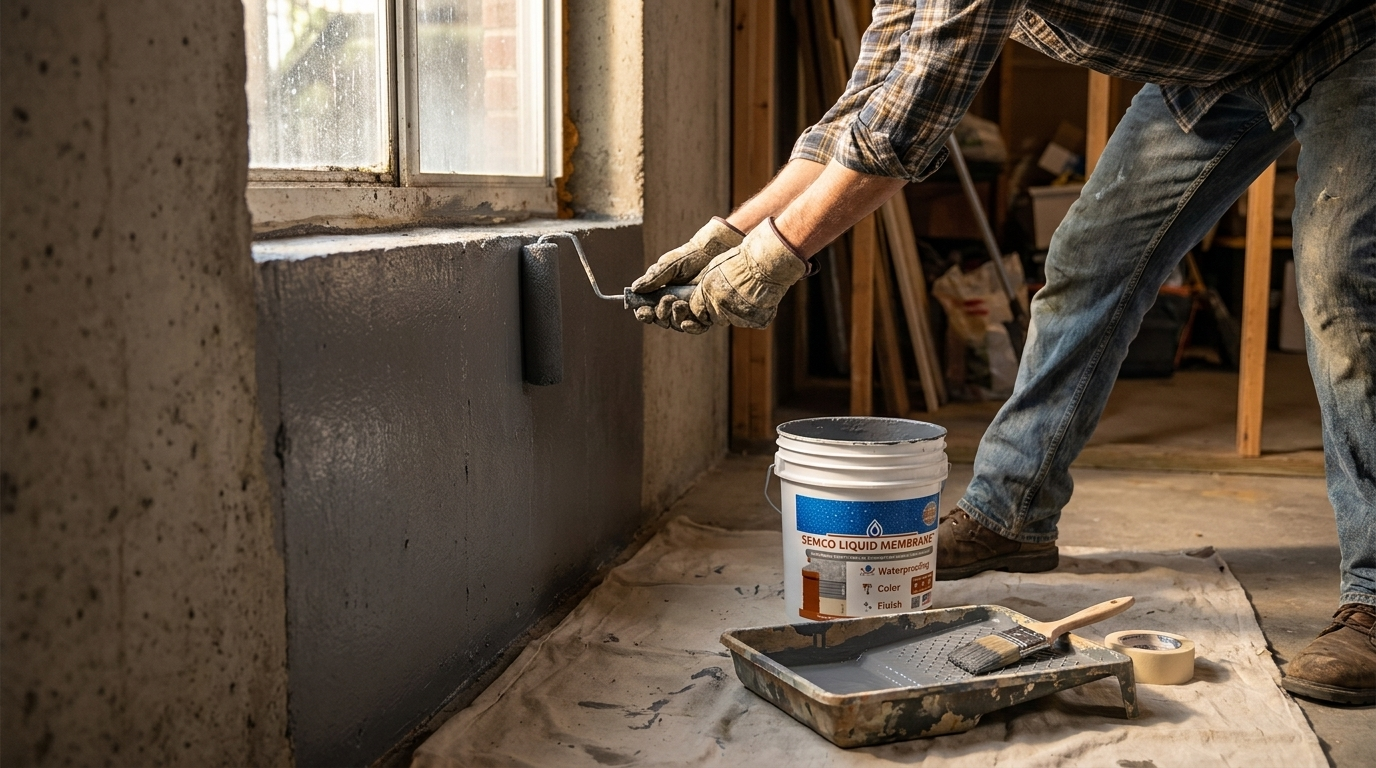
- 1/2 inch nap roller, brush, or airless sprayer
- Gloves and eye protection
Step 1: Dry Out and Prep the Basement
Remove any standing water with a wet/dry vacuum, then run fans or a dehumidifier until the space is fully dry. Scrape off peeling paint, efflorescence, and loose debris with a wire brush, and clean the surface with a concrete cleaner. Proper prep is the single biggest factor in whether a coating actually bonds and lasts.
Step 2: Inspect and Repair Cracks
Fill any cracks or holes with hydraulic cement first. For cracks up to 1/4 inch wide, this filling step needs to happen before the membrane goes on. For wider cracks or control joints, you will address them again in Step 3 with fabric reinforcement, since a filler alone will not manage that much movement.
Step 3: Reinforce Floor-to-Wall Joints and Wide Cracks
The floor-to-wall joint is the most common place a finished basement wall starts leaking again months later, because it flexes more than the field of the wall or floor. Apply a coat of membrane into the joint, embed fabric reinforcement into it while wet, then apply a second coat of membrane over the fabric. Use the same approach for cracks or control joints wider than 1/4 inch.
Step 4: Apply the First Coat of Liquid Membrane
Apply a generous coat of SEMCO Liquid Membrane™ with a 1/2 inch nap roller, brush, or sprayer, working it into the surface including any pre-treated crack and joint areas. Avoid application in direct sunlight or temperatures above 85°F, since the coating can dry too fast to bond properly. At 70°F and 50% relative humidity, expect roughly 1 to 2 hours before you can walk on it without leaving a footprint or fingerprint.
Step 5: Apply the Second Coat
Once the first coat passes the fingerprint test, apply a second coat in the opposite direction to even out thickness and catch any thin spots. Two coats should reach a minimum wet thickness of 30 mils. Inspect the finished surface for pinholes or thin areas under good light, and spot-coat anything you find.
Step 6: Cure, Inspect, and Finish
Full cure depends on temperature: about 5 days at 95°F, up to 10 days at 50°F. Once cured, the membrane is paintable and available in multiple colors if you want a finished look rather than leaving it as-is. A lighter color also makes it easier to spot new moisture or staining during future inspections.

Reduces RH up to 75%, handles up to 10 PSI vapor transmission, 200 to 250 sq ft per gallon.
Common Basement Waterproofing Mistakes to Avoid
- Skipping surface prep. Coating over dust, efflorescence, or damp concrete is the top cause of early bond failure.
- Ignoring the floor-to-wall joint. This is where movement is greatest, and where unreinforced coatings crack first.
- Applying in the wrong conditions. Direct sun or temperatures over 85°F can dry the surface too fast to bond properly. Keep relative humidity at or below 25% between coats.
- Only doing one coat. A single coat rarely hits the minimum thickness needed for real waterproofing performance.
- Treating a structural problem like a cosmetic one. No interior coating will fix a bowing wall or active hydrostatic flooding.
"It is an awesome product. Had DryLok on before and it failed. This product was easy to apply, it doesn't smell at all."
How Much Does DIY Basement Waterproofing Cost?
Materials alone typically run from under a hundred dollars for a small area up to a few hundred dollars for a full basement, depending on square footage and pail size. SEMCO Liquid Membrane™ runs about $0.39 per square foot on a 5-gallon pail, plus fabric reinforcement for the floor-to-wall joints and any crack filler you need. That is a fraction of the cost of professional exterior waterproofing, which typically requires excavation and runs into the thousands.

Use at floor-to-wall joints and cracks wider than 1/4 inch for lasting crack suppression.
When to Call a Professional Instead
Interior waterproofing is not the right fix if you have active flooding after rain, a wall that is visibly bowing or cracking structurally, or a persistently high water table. Those situations need exterior excavation, drainage tile, or a sump pump system installed by a professional. Interior membrane work is best suited to moisture, humidity, hairline cracks, and cosmetic water staining, not structural water intrusion.
Frequently Asked Questions
Can I waterproof my basement myself?
Yes, for minor to moderate water seepage, hairline cracks, or high humidity. A liquid membrane applied by roller or brush is a DIY-friendly, one-weekend project. Active flooding or structural issues need a professional.
Should I choose interior or exterior basement waterproofing?
Interior waterproofing is the right choice for dampness, minor seepage, and hairline cracks, and it's the more affordable, DIY-friendly option. Exterior waterproofing is for active flooding, hydrostatic pressure, or a bowing wall, and it requires excavation and professional installation.
How many coats of liquid membrane does a basement need?
Two coats, reaching a minimum wet thickness of 30 mils, is the standard for non-submerged basement walls and floors.
Will a liquid membrane stop existing cracks from leaking?
Yes, for cracks up to 1/4 inch wide, fill first, then coat over. For wider cracks or control joints, apply membrane into the joint, embed fabric reinforcement, then apply a second coat over the fabric.
How long before I can paint or finish over the membrane?
Full cure takes about 5 days at 95°F up to 10 days at 50°F. Once cured, the membrane is paintable, or you can choose a finished color at application.
How much does DIY basement waterproofing cost per square foot?
Materials alone run around $0.39 per square foot for the membrane on a 5-gallon pail, plus fabric reinforcement for joints, well under the cost of professional exterior waterproofing.
Ready to waterproof your basement this weekend?
SEMCO Liquid Membrane™ bridges cracks, seals the floor-to-wall joint, and reduces humidity, no contractor required.
Shop Liquid Membrane →Free shipping on orders over $99. 5-year standard limited warranty.