
Run a basement waterproofing check before the first fall storms hit, typically 4 to 8 weeks out depending on your region. The seven things to check: hairline cracks, the floor-to-wall joint, early humidity or condensation, grading around the foundation, gutters and downspouts, any membrane that's thinning or peeling, and whether it's time to seal before the ground gets saturated. Catching these now takes an afternoon. Catching them after the first hard rain usually means water on the floor.
In This Checklist
- When to start, before fall rains actually arrive
- The 7-step basement waterproofing checklist
- What happens if you skip a step
- FAQ

When Should You Start Basement Waterproofing Before Fall?
Aim to finish this checklist 4 to 8 weeks before your region's typical first fall storms, usually sometime in September for the Midwest and Northeast, and into October or November farther south. That window matters for two reasons. First, most liquid membranes need dry, moderate weather to cure properly, and a rushed application in cold, damp conditions is a common cause of early bond failure. Second, once the ground is saturated, hydrostatic pressure is already pushing against your foundation, and patching under that pressure is a very different job than sealing a dry wall in September.
If you already had any dampness, a musty smell, or a hairline crack show up last winter, that's the wall or the joint to prioritize this round, not a random corner of the basement.
The 7-Step Basement Waterproofing Checklist
Work through these in order. Each one takes 10 to 30 minutes, and most homeowners can get through the full list in a weekend, with a second weekend if step 6 turns into a full recoat.
Step 1: Inspect for hairline cracks and settling
Walk the full perimeter with a flashlight, including behind stored boxes and shelving. Mark anything wider than a hairline with painter's tape so you don't lose track of it. Cracks under about a quarter inch are typically fine for a liquid membrane alone; anything wider needs fabric reinforcement, not just extra coats.
Step 2: Check the floor-to-wall joint
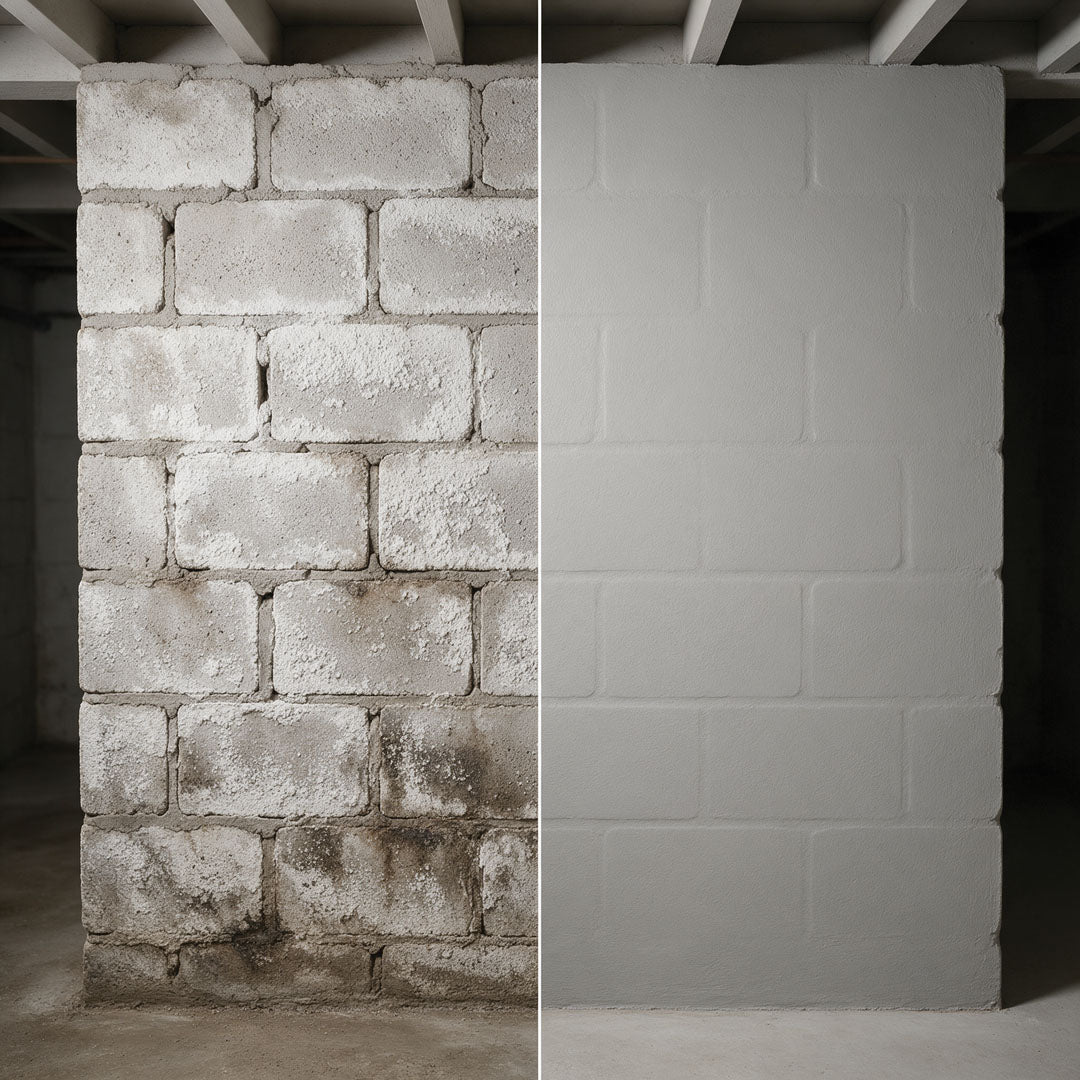
This is where the slab and the foundation wall meet, and it moves independently of both, which makes it the single most common spot for a "waterproofed" basement to leak again. Run a finger or a screwdriver tip along the joint looking for gaps, efflorescence (white mineral staining), or old caulk that's cracked and pulling away.

Woven fabric embedded wet between two coats of membrane at the floor-to-wall joint and any crack wider than 1/4 inch. This is the fix for step 2, not another coat of membrane on its own.
Step 3: Test humidity and look for early condensation
A cheap hygrometer left in the basement for a day will tell you more than a visual walk-through. Relative humidity creeping above 55 to 60 percent, a musty smell, or condensation on cold pipes or the wall itself are all signs of moisture vapor pushing through the slab or walls, not just a visible leak. This is the failure mode a coating alone won't fix if the membrane isn't rated for vapor transmission. If that humidity has already turned into dark staining on the wall, see whether it's actually dangerous and how much you can safely clean yourself before you move on to sealing.

Step 4: Clear and grade around the foundation
Outside, check that soil slopes away from the foundation at least 6 inches over the first 10 feet. Flower beds, mulch piled against the siding, and settled soil next to the foundation are common culprits that push runoff straight toward the wall you just sealed inside. Regrading now, before the ground softens with fall rain, is far easier than doing it in the mud.
Step 5: Clean gutters and extend downspouts
A gutter that overflows dumps its entire load right at the foundation, which defeats interior waterproofing before it's even tested. Clean gutters now, and make sure downspouts discharge at least 4 to 6 feet away from the house, not just past the edge of the roofline.
Step 6: Reapply or touch up your membrane where it's thinning
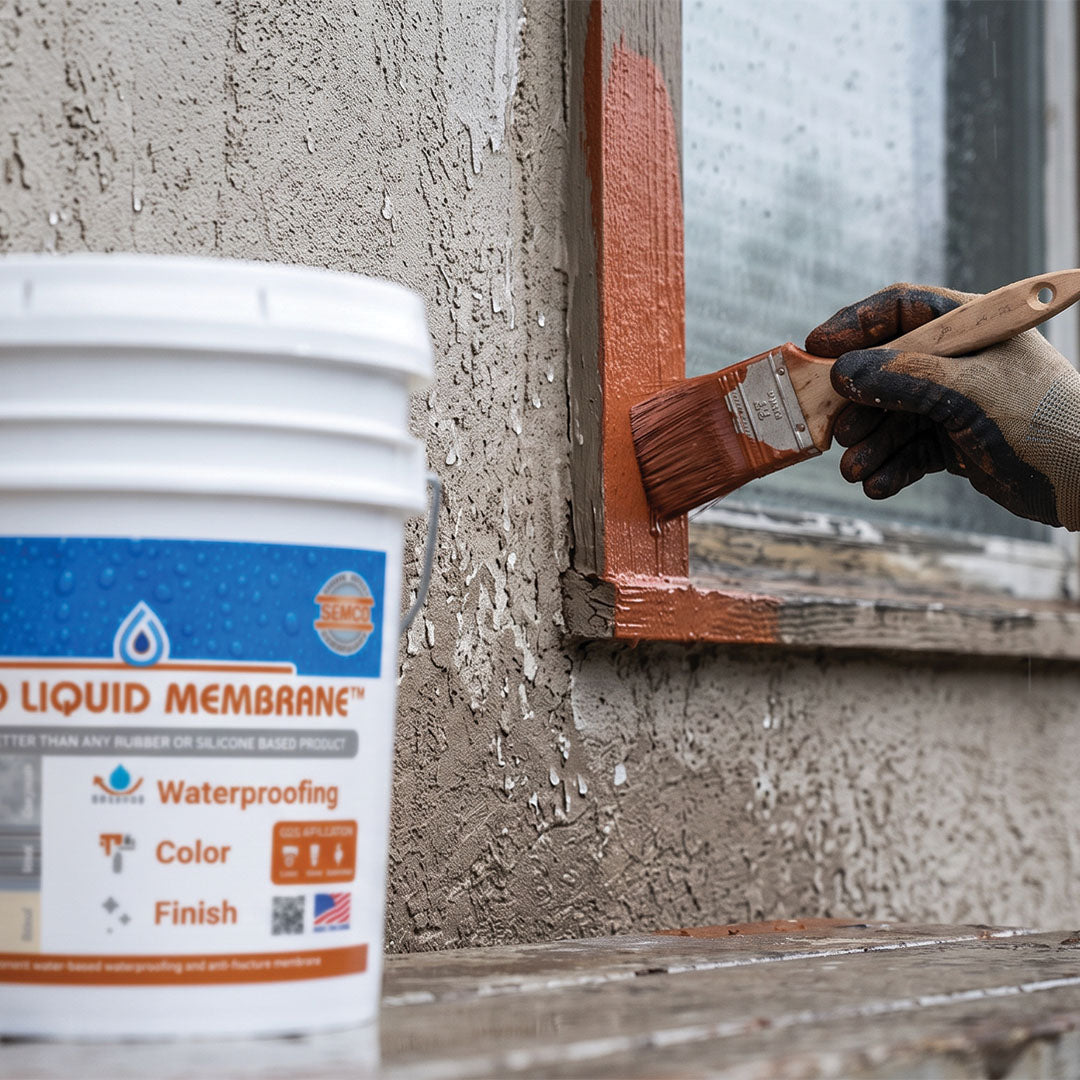
If you waterproofed before, check for chalking, thin spots, or hairline separation at seams, especially near the floor where foot traffic and moisture both concentrate. A touch-up coat now is a fraction of the work of a full redo after a leak. If you're coating for the first time, this is the step itself: two coats of a water-based membrane, brushed or rolled, at the minimum wet mil thickness the data sheet calls for, not the thinnest coat that still covers the wall.

1,300% elongation, 234 PSI adhesion, rated to 10 PSI vapor transmission, reduces RH up to 75%. Low odor, soap-and-water cleanup. About 200 sq ft per gallon.
For a full rundown of what actually separates a membrane that holds up from one that doesn't, including elongation, adhesion, and cure time, see our basement waterproofing membrane buyer's guide. And if you're deciding between a water-based membrane and a silicone-based coating for this job specifically, our full water-based vs silicone-based comparison breaks it down by scenario.

Step 7: Seal the basement before the first real storm, not after
Once you've worked through steps 1 to 6, don't let the project sit half-finished going into fall. A membrane needs its full cure window, generally a few days for a water-based product, before it's ready to face sustained rain or rising water tables. Finishing 2 to 3 weeks ahead of the first expected storm gives the coating time to fully cure, not just dry to the touch.
What Happens If You Skip a Step
| Checklist item | What happens if you skip it |
|---|---|
| Hairline crack inspection | Small cracks widen under freeze-thaw cycling once cold weather hits, and often become an active leak by winter. |
| Floor-to-wall joint check | The most common spot for a "waterproofed" basement to leak again, since a coating alone can't bridge ongoing movement. |
| Grading and downspouts | Water pools against the foundation and finds the path of least resistance, often straight through a new membrane. |
| Humidity check | Rising vapor pressure gets mistaken for "no leak" until a musty smell or mold shows up mid-winter. |
Frequently Asked Questions
When should I waterproof my basement before fall rains?
Finish 4 to 8 weeks before your area's typical first fall storms, which is roughly September for the Midwest and Northeast and later into October or November farther south. This leaves time for the membrane to fully cure before it has to hold back real water.
How do I know if my basement actually needs waterproofing?
Look for hairline cracks, efflorescence, a musty smell, condensation on pipes or walls, or relative humidity consistently above 55 to 60 percent. Any of these point to moisture getting in even without a visible puddle on the floor.
Do I need fabric reinforcement for a hairline crack?
Generally no. Hairline cracks under about a quarter inch are typically fine with two coats of a high-elongation membrane alone. Cracks wider than that, and the floor-to-wall joint specifically, need fabric reinforcement embedded wet between coats.
How long does it take to waterproof a basement wall with a liquid membrane?
Application itself usually takes a day or two for two coats across an average basement. Full cure runs longer, generally a few days for a water-based membrane, which is why timing this checklist weeks ahead of fall rain matters more than the application time alone.
Can I finish this whole checklist in one weekend?
Steps 1 through 5 usually fit into a single weekend. Step 6 can too if it's a touch-up, but a full first-time membrane application across a whole basement is often a two-weekend project once you factor in cure time between coats.
Ready to run the checklist?
SEMCO Liquid Membrane bridges cracks, seals the floor-to-wall joint, and cures low-odor, before the fall rain gets there first.
Shop Basement Waterproofing →Free shipping on orders over $99. 5-year standard limited warranty.
Further Reading
- Basement Waterproofing Membrane: How to Choose One That Won't Fail
- Water-Based vs Silicone-Based Basement Waterproofing: The Full Comparison
- Is Black Mold on Concrete Basement Walls Actually Dangerous? What to Check Before You Waterproof
Related reading: