
If your metal roof only leaks when it's really coming down, the panels themselves are almost never the problem. Nine times out of ten, water is getting in through an exposed screw head, a lapped seam, a rusted-through low spot, or the boot around a vent pipe or chimney, then traveling sideways under the panel before it finally drips through your ceiling somewhere else entirely. Once you find the actual entry point, you can seal it yourself in an afternoon with a flexible, UV-stable liquid membrane, no torch-down or full recover needed. Here's how to find it and seal it before the next stretch of fall rain.
This guide covers metal roofs specifically. If your roof is concrete, built-up, or torch-down instead, the leak sources and prep are different, so see our guide to waterproofing a concrete or flat roof before winter.
In this article
- Where metal roofs actually leak from
- How to find the source before you seal anything
- What you'll need
- Step-by-step: sealing the leak
- Water-based membrane or silicone-based coating?
- Mistakes that make it worse
- FAQ
Where Do Metal Roofs Actually Leak From?
A metal panel itself is close to watertight. Leaks almost always start at one of these points instead:
- Exposed fastener heads. The rubber washer under each screw hardens and cracks after a few years of UV exposure and thermal cycling, which is the single most common leak source on an exposed-fastener metal roof.
- Panel end-laps and side-laps. These are the first place a low-slope section gives out, especially where the pitch flattens near a gutter line.
- Rusted-through spots. Usually where a scratch in the coating went untreated, or where a dissimilar metal (like a steel screw in an aluminum panel) has been corroding the panel from contact.
- Roof penetrations. Vent pipe boots, skylight curbs, chimney flashing, and satellite or solar mounts are all places where a separate material meets the metal, and that joint is where movement eventually opens a gap.
- Valleys. Two roof planes dump their water into one channel here, so a seam or fastener that would hold up anywhere else on the roof can still fail in a valley.
How to Find the Source of a Roof Leak Before You Seal Anything
Sealing the wrong spot is the most common reason a "fixed" roof leaks again at the next storm. Water travels before it drips, so work backward from the stain, not straight up from it.
1. Trace it from the attic during or right after rain
With a flashlight, follow the underside of the roof deck uphill from the wet spot or stain. Water runs along a rafter or purlin before it finds a gap to drip through, so the entry point is almost always higher up and often off to one side.
2. Mark the highest point of staining
That's your starting search zone on the exterior, not the spot directly above the interior drip.
3. Inspect that zone outside
Check the fasteners, seams, and any penetration uphill of the marked point for cracked washers, lifted laps, or rust.
4. No attic access? Run a hose test
Starting at the eave, wet one section at a time for several minutes while a helper watches inside, working your way uphill until the leak shows itself. This isolates the source without guessing.
5. Rule out the usual false leads
Condensation dripping off cold metal purlins, or a sweating AC line running through the attic, both mimic a roof leak and send people sealing a roof that was never the problem.
What You'll Need to Seal a Metal Roof Leak Yourself
- A stiff nylon brush or cleaner and a pressure washer for surface prep
- A wire brush or grinder wheel for rust spots
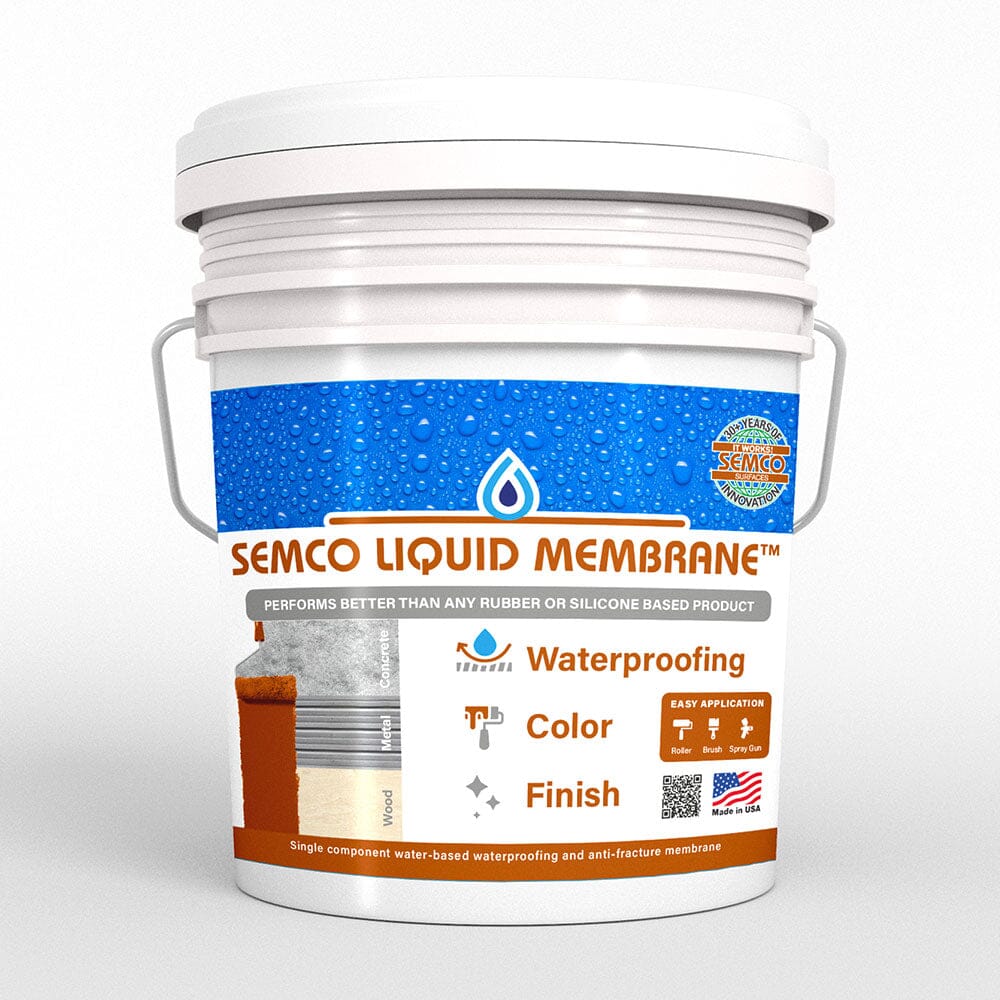
- SEMCO Liquid Membrane, a single-component, water-based waterproofing membrane rated for metal roofs
- SEMCO Fabric Reinforcement for seams, fasteners, and penetrations
- A 1/2 inch nap roller for the field, plus a brush for detail work around penetrations
- Replacement gasketed screws for any fastener that's backed out or spinning
Step-by-Step: How to Seal a Leaking Metal Roof
Step 1: Clean and dry the surface completely
Remove dust, chalking paint, oil, and any loose or flaking rust. The surface needs to be fully dry, and you'll want a stretch of dry weather with temperatures between 50°F and 85°F, out of direct sun, to apply and let it set up.
Step 2: Treat rust spots
Wire-brush any rusted area back to sound, stable metal before coating over it. Coating over active flaking rust just traps it under the membrane.
Step 3: Fix loose fasteners first
Replace any screw that's backed out, stripped, or spinning with a slightly larger gasketed screw. A membrane can seal around a fastener, but it can't hold a loose one in place.
Step 4: Embed fabric reinforcement at every seam and penetration
Roll on a base coat of Liquid Membrane, then lay Fabric Reinforcement directly into the wet coating over every seam, fastener row, rust repair, and penetration collar. This is what actually bridges movement between two surfaces; the membrane alone is meant for the field of the panel, not for spanning a joint.
Step 5: Apply the first full coat
Roll or brush on a full coat over the entire repair area and the field around it, at 15 to 20 mil.
Step 6: Recoat the same day
SEMCO Liquid Membrane is ready to recoat once it holds no fingerprint, about 25 to 45 minutes at 72°F, so you can apply the second coat the same day, at roughly 90 degrees to the direction of the first. Two coats, each at 15 to 20 mil, is the minimum for full waterproofing, at about 200 sq ft per gallon.
Step 7: Let it cure before you count on it
Full cure takes 7 days minimum. It sheds light rain once dry to the touch, but give it the full cure window before you consider the repair done, especially heading into a stretch of consistent fall storms.

UV-stable, 1,300% elongation, recoats in 25 to 45 minutes. Rated for metal roofs, seams, and penetrations.

Embeds into wet membrane to bridge seams, fasteners, and penetrations where movement happens.
Water-Based Membrane or Silicone-Based Coating for a Roof Repair?
Silicone-based roof coatings cure by reacting with moisture in the air, which makes them a common choice in humid climates, but a cured silicone surface is slick underfoot and famously hard to patch or recoat later since almost nothing, including more silicone, bonds well to it once it's fully set. Rubber-based coatings go on thicker but tend to soften in heat and lose flexibility under prolonged UV exposure. A water-based elastomeric membrane like SEMCO Liquid Membrane recoats onto itself indefinitely, so a future repair is as simple as cleaning the spot and rolling on more, and it carries a UV-stable, 1,300% elongation rating that keeps working as the metal expands and contracts with temperature. For a full side-by-side, see our comparison of water-based membrane and silicone-based coatings for metal roofs.
| Leak Point | Likely Cause | How to Seal It |
|---|---|---|
| Exposed fastener | Cracked or hardened rubber washer | Replace loose screws, embed fabric reinforcement over the fastener row, then coat |
| Panel seam or lap | Lifted lap or failed sealant at a low-slope section | Embed fabric reinforcement into a wet base coat along the full seam |
| Rusted-through spot | Untreated scratch or dissimilar-metal corrosion | Wire-brush to bare metal, reinforce, then apply two full coats |
| Penetration boot or flashing | Joint movement between two different materials | Wrap fabric reinforcement around the collar before coating over it |
| Valley | Concentrated water volume overwhelming a marginal seam | Reinforce and coat the full valley length, not just the visible gap |
Common Mistakes That Make a Metal Roof Leak Worse
- Coating over moisture. Applying membrane to a damp or actively wet surface traps moisture underneath instead of sealing it out.
- Skipping fabric reinforcement at seams. A membrane alone flexes with the panel, but a joint between two surfaces needs the fabric to actually bridge the movement.
- Sealing the interior drip point instead of the exterior entry point. Since water travels before it drips, this almost always misses the real leak.
- Patching with an asphalt or tar-based product first. Almost nothing recoats well over tar, so it has to be fully removed later, which adds a demolition step to what should have been a same-day fix.
Frequently Asked Questions
How long does SEMCO Liquid Membrane take to cure on a roof?
It's ready to recoat once it holds no fingerprint, about 25 to 45 minutes at 72°F, so you can apply a second coat the same day. Full cure takes 7 days minimum.
Can I apply it in cold fall weather?
Apply between 50°F and 85°F, out of direct sun. As nights get colder, plan the job around a stretch of daytime temperatures in that range with no rain expected during the recoat window.
Will one coat stop the leak?
No. Two coats, each at 15 to 20 mil, is the minimum for a continuous, pinhole-free waterproofing layer, at about 200 sq ft per gallon.
My metal roof only leaks during heavy rain. Is that normal?
Yes. Wind-driven, high-volume rain overwhelms a marginal seam or fastener that holds up fine in light rain, which is exactly why the leak seems to come and go.
Do I need fabric reinforcement across the whole roof?
No. Embed it at seams, fastener rows, rust repairs, and penetrations, where the roof actually moves or where two materials meet. It isn't needed across a sound, flat panel field.
Ready to seal it before the next storm?
SEMCO Liquid Membrane and Fabric Reinforcement ship together in one order, so you can prep, reinforce, and coat in a single weekend.
Shop Roof Waterproofing →Backed by a 5-year standard limited warranty (10 years on non-traffic surfaces).
Related reading: