
Waterproofing a window box means coating the rough opening, the sill, and the jambs with a flexible, water-based liquid membrane before the window unit and cladding go in, so any water that gets past the exterior trim or flashing has nowhere to go but back out. SEMCO Liquid Membrane does this in two thin coats, bonds to wood, concrete block, metal, and vinyl, stretches up to 1,300% without cracking, and needs a 7-day cure before the opening is closed in or the window is installed. Skipping this step is one of the most common reasons new construction and remodels develop hidden rot and mold around windows, sometimes years before anyone notices.
This guide covers why window boxes leak in the first place, how to waterproof one step by step, how a liquid membrane compares to tape and caulk, and when you need fabric reinforcement at the corners.
In this guide
- Why window boxes leak in the first place
- How to waterproof a window box, step by step
- Liquid membrane vs. flashing tape and caulk
- Do you need fabric reinforcement at the corners?
- How much you'll need
- New construction vs. retrofitting an existing window
- Climate considerations: coastal, humid, and freeze-thaw regions
- FAQ

Why Window Boxes Leak in the First Place
A window box, sometimes called a window buck, is the rough-framed opening a window sits in. It is exposed to weather on every side before the window, flashing, and trim close it in, and it stays exposed at the seams and fastener lines long after. Three things tend to go wrong without a continuous waterproof layer underneath:
- Water intrusion at the seams. Gaps between the framing, the sill, and the sheathing give water a path inward, leading to interior staining, mold growth, and wood rot around the opening.
- Wicking through masonry. In block or concrete construction, common across the Southeast, water can wick through the porous block itself if the opening isn't sealed, not just through visible gaps.
- Freeze-thaw cracking. In colder climates, water that gets into an unsealed window box can freeze and expand, widening cracks each winter.
A liquid-applied membrane addresses all three because it cures into one continuous, flexible film across the framing, sill, and corners, rather than just repelling water at the surface the way a sealant bead does.
How to Waterproof a Window Box, Step by Step
Step 1: Prep the surface
Clean the opening and let it dry completely. Remove dust, debris, sawdust, and any loose material from the framing, sill, and sides. On block or masonry openings, clean with Stone Soap or, for efflorescence and mineral deposits, Nu-Lift Cleaner, and let the surface dry below about 3% moisture before coating.
Step 2: Apply the first coat
Roll or brush an even, thin coat of SEMCO Liquid Membrane across the sill, jambs, and head of the opening. Work conditions matter: stay in the 50 to 90°F range and out of direct sun. Let the coat skin over, roughly 25 to 45 minutes at 72°F, before recoating the same day.
Step 3: Apply the second coat
Apply a second thin coat in the opposite direction of the first to close any pinholes and even out thickness. Two coats is the standard; do not try to get full coverage from a single thick coat, since a thick coat stays tacky longer and cures unevenly.
Step 4: Let it cure before closing in the opening
Give the membrane a full 7-day cure, longer in cool or humid weather, before installing the window, flashing tape, or cladding over it. Inspect for pinholes or missed spots first and touch up corners and seams if needed.

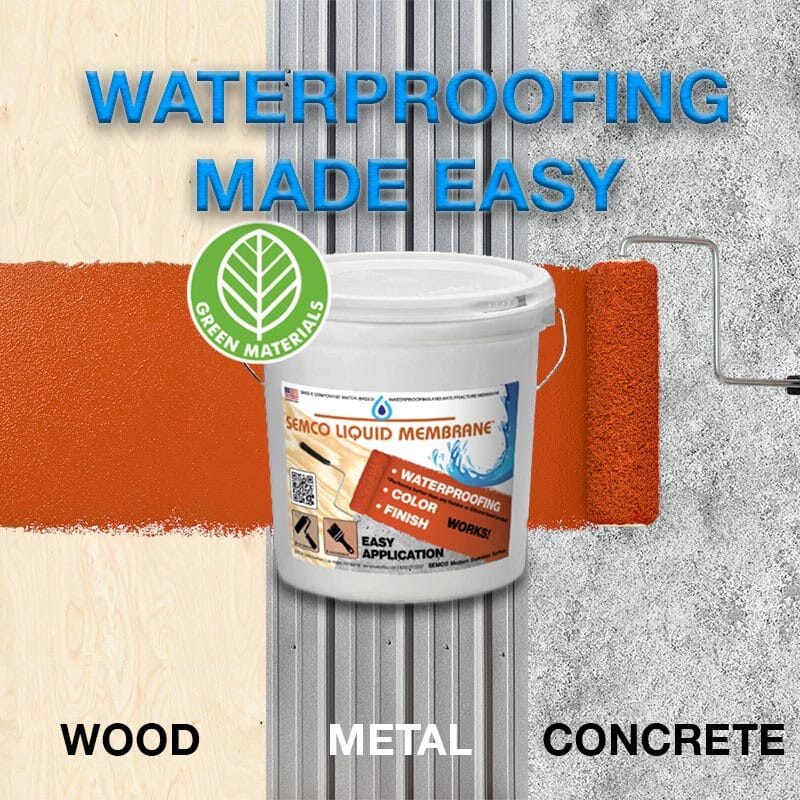
Water-based, single-component membrane that bonds to wood, block, metal, and vinyl, and cures into a flexible film with up to 1,300% elongation.
Liquid Membrane vs. Flashing Tape and Caulk
Peel-and-stick flashing tape and a bead of caulk are the two methods most commonly used around window openings, and both have a place. Where a liquid membrane differs is coverage and how it handles the corners, which is where most window leaks actually start.
| Factor | Flashing tape / caulk | Liquid waterproofing membrane |
|---|---|---|
| Coverage | Strips or beads along joints and edges | Continuous film across the full sill, jambs, and head |
| Corners | Tape has to be cut and folded, a common failure point | Rolls or brushes seamlessly into corners with no cuts |
| Movement | Caulk can shrink and crack over time; tape adhesion can fail in heat | Stretches up to 1,300% with the opening as the building moves |
| Substrates | Best suited to one or two surface types per product | Same product bonds to wood, block, concrete, metal, and vinyl |
These approaches aren't mutually exclusive. Many builders coat the window box with membrane for the continuous waterproof layer, then still use flashing tape at the exterior face where it integrates with the house wrap or siding.
Do You Need Fabric Reinforcement at the Corners?
Corners, the sill-to-jamb transition, and any crack wider than about 1/4 inch are exactly where SEMCO Fabric Reinforcement goes. Embedded into the first wet coat of membrane, it adds tensile strength across the joints that move the most as the opening settles and the building expands and contracts with temperature, which is the most common place for an unreinforced coating to crack open again after a season or two.

Embeds into wet Liquid Membrane across corners, joints, and cracks wider than 1/4 inch, where movement and leaks are most likely.
How Much You'll Need
A single window box uses a small fraction of a gallon, so most DIYers and contractors doing a handful of openings only need a pint or a quart. At roughly 200 sq ft per gallon at two coats on a standard surface, a quart comfortably covers a dozen or more typical residential window boxes. For a full new-construction job with many openings, size up to a gallon or 5-gallon pail and add a roll of Fabric Reinforcement for the corners.
New Construction vs. Retrofitting an Existing Window
On new construction, the membrane goes on bare framing before the window, flashing, or cladding is installed, which is the cleanest and most effective application. Retrofitting an installed window is harder, since the membrane can't reach surfaces that are already closed in. For a window already in place and leaking, start by removing the interior or exterior trim far enough to expose the problem area, clean and dry it, then coat what you can reach and reinforce the exposed seams with fabric before resealing. If you can't expose the framing at all, a liquid membrane is not a substitute for proper flashing repair or window replacement.
Climate Considerations: Coastal, Humid, and Freeze-Thaw Regions
In Florida and other humid, storm-prone coastal states, waterproofing window boxes is not optional. Concrete block construction is common in these regions, and block absorbs water readily unless the opening is sealed before the window goes in. In colder states, unsealed window boxes let water in that then freezes and expands during freeze-thaw cycles, widening cracks each winter. A continuous membrane that stays flexible across a wide temperature range addresses both situations the same way: by keeping water from reaching the framing at all, rather than trying to manage it once it's already inside.
Frequently Asked Questions
Can I use SEMCO Liquid Membrane on an existing window installation?
Yes, for retrofitting, but only on surfaces you can actually expose and reach. Clean and dry the area first, then coat it the same way as new construction. See the retrofit section above for how to approach a window that's already installed.
How long does the membrane last once it's cured?
SEMCO Liquid Membrane carries a 5-year standard limited warranty, with a 10-year warranty on non-traffic surfaces. Properly applied and left undisturbed behind the window assembly, it is designed to last the life of the installation.
Is this suitable for all climates?
Yes. It performs the same way in humid, coastal, cold, and dry climates, since the goal in every case is the same: keep water out of the framing. Just apply it within the 50 to 90°F working range and out of direct sun, regardless of climate.
Do I need to prime the surface first?
No. SEMCO Liquid Membrane doesn't require a separate primer on wood, block, concrete, metal, or vinyl. The right surface prep, cleaning and drying the substrate, takes the place of a primer step.
Will the window box be waterproof before the membrane finishes curing?
It is dry to the touch within an hour or two, but give it the full 7-day cure, longer in cool or humid weather, before the opening sees sustained water exposure or is closed in behind the window and trim.
What's the single biggest mistake people make waterproofing a window box?
Skipping the corners. A flat coat across the sill is easy; the sill-to-jamb corner is where most unreinforced coatings crack open first. Use Fabric Reinforcement there, and at any crack wider than 1/4 inch, before you call the job done.
Ready to waterproof your window boxes?
Start with SEMCO Liquid Membrane for the sill, jambs, and head, and add Fabric Reinforcement at every corner and seam.
Shop Liquid Membrane →Free shipping on orders over $99 to the 48 contiguous states.
Related reading:
- GUIDE TO HOW TO WATERPROOF A WINDOW BOX
- How to Waterproof a Window Box: Proven Window Waterproofing Solutions for New Construction
- Window Leaking During Rain? How to Waterproof Windows From the Outside Without Replacing Them
- Weatherproof Your Exterior: How SEMCO Liquid Membrane Protects Walls and Windows from Air and Moisture