



Projects › Basement Waterproofing
Waterproof your basement — walls, floor, or both.
You've got the product. Now let's work out exactly what your basement needs — the right amount of membrane, the right prep cleaners, and a floor sealer if yours takes traffic.
A weekend, not a renovation
Four steps. Walls or floors.
If you can roll paint, you can do this. The only part that needs discipline is the prep.
Get the surface clean and dry
Remove loose paint and debris. Clear efflorescence and mineral deposits with Nu-Lift Cleaner, then Stone Soap to clear the residue and rebalance the surface pH. Let the substrate dry fully.
Bridge anything over ¼"
Coat the crack, press in Fabric Reinforcement, coat over it to encapsulate. Hairline cracks need nothing — the membrane spans those on its own.
Roll two coats
½" nap roller, thin and even, roughly 15 mil per coat. Second coat perpendicular to the first. Both go on the same day.
Let it cure
Dry to touch in about an hour. Initial cure is at least 7 days — longer with thick coats or high humidity. Keep water off it for the whole window.
The substrate must be dry before you startResidual moisture must be under 3%, or the coating traps it and stays tacky instead of curing. If the wall or floor is constantly damp, apply Natural Shield first and let it fully cure. Apply between 50–90°F, avoiding direct afternoon sun and anything over 85°F.
Your basement
What does your basement need?
Enter your areas. We size the membrane, the Prep D cleaners, and a floor sealer if your floor takes traffic.
What are you waterproofing?
This decides which areas we ask you to measure.
Enter your areas
Walls: each wall’s length × height, added together. Floor: length × width.
Will the floor take traffic?
Foot traffic, furniture, shelving or appliances all count. The floor gets the membrane either way — a sealer goes over it, once cured, to take the wear.
Enter your wall and floor areas — we’ll work out exactly what the job needs.
Untick anything you already have. Quantities are editable.
Real basements
Homeowners who stopped chasing it.
Selected from 155 basement reviews, with the owners’ own photos.
“Four estimates ranging from 3k to 21k.”
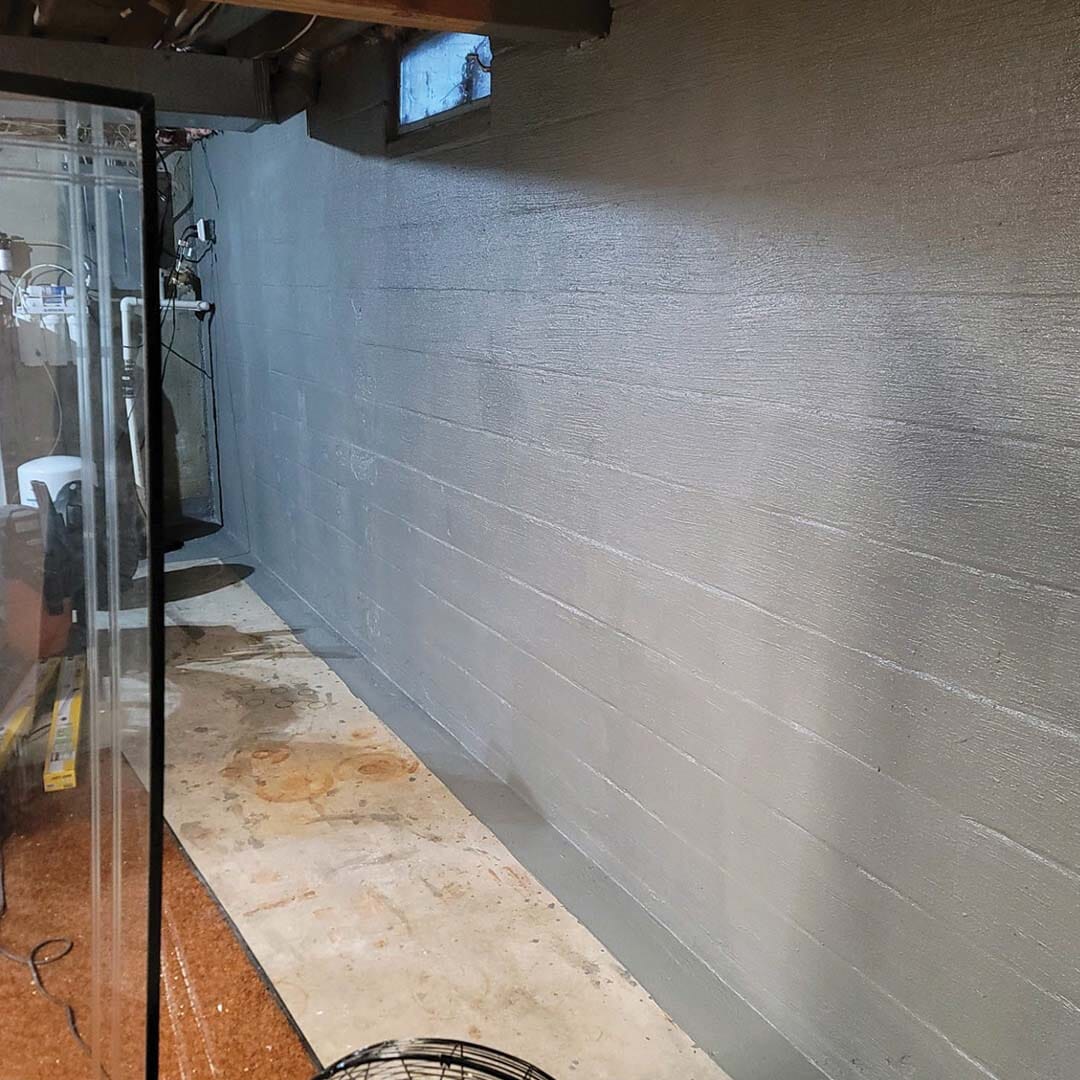
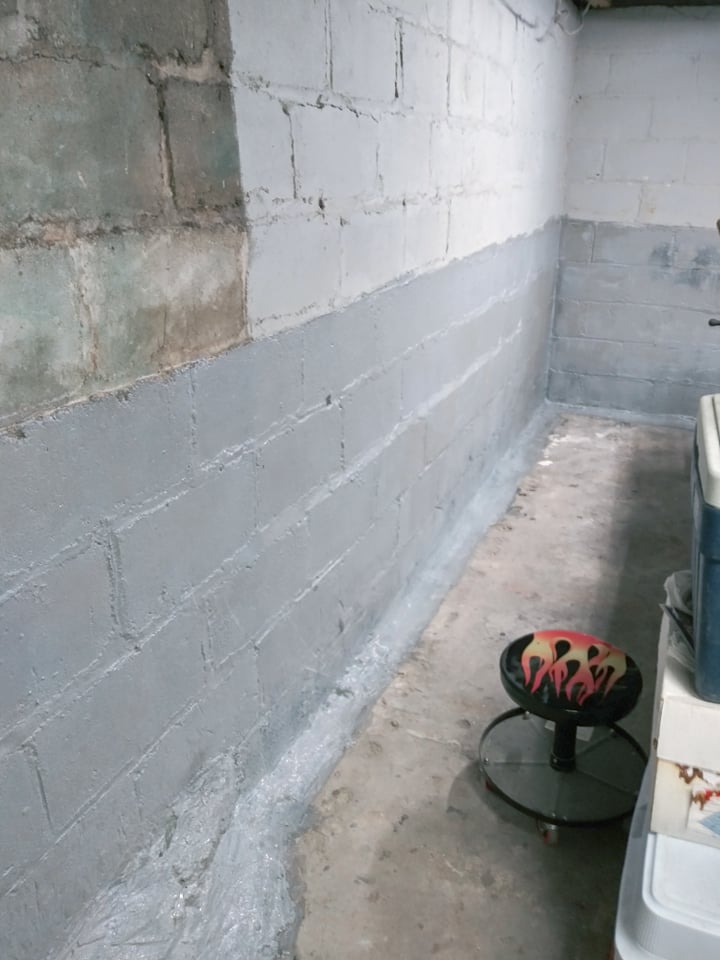
Used this on an interior basement wall that literally had water coming thru during rainstorms and after 4 estimates ranging from 3k to 21k for interior french drains to exterior grading, after rolling on several coats along with the fabric and presto, NO more water at all. Amazing product. Used all the cleaners and prepped surface good before using. Cost a few hundred dollars compared to thousands I could have spent.
“No water has entered my previously flooded basement.”
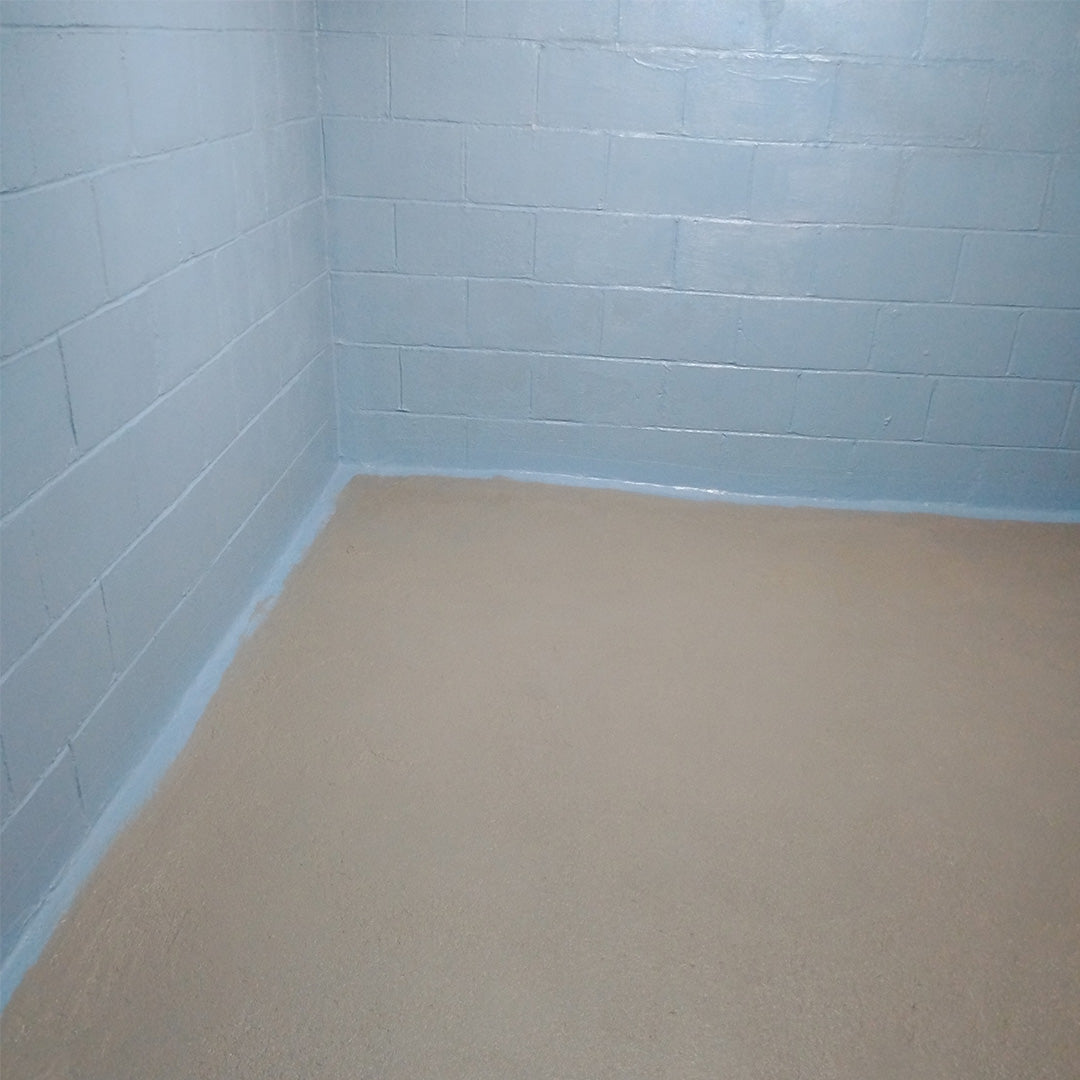
So far no water has entered my previously flooded basement. Walls and floor covered with Semco Beige.
“That started to peel off just after a few months.”
I used Drylock before in my basement and that started to peel off just after a few months. Got this to apply in my basement and I haven't had any moisture problems ever since.
“I used the complete process in prepping.”
In repairing settling cracks in my basement wall, I used the complete process in prepping for the application. First wet the concrete thoroughly, then applied the Nu-Lift and a hard bristle scrub brush. After application and scrubbing I used fresh water in a spray, then the final cleaner, and repeated the process.
“My first dry spring.”
Going on my 3rd year using this stuff now and it continues to amaze me. It's flexible enough so it won't crack. I used it in my basement after Drylok failed and had my first dry spring.
“Haven't had a drop of water in my basement.”
Very satisfied. It's been two months and despite the wettest winter I've seen, I haven't had a drop of water in my basement and was able to apply carpet over my floor without having to fear water damage seeping in.
Why it keeps coming back
The water isn’t coming through a crack. It’s coming through the wall.
Your basement sits below the water table for part of every year. When it rains, the soil saturates and water pushes inward. That force is hydrostatic pressure, and it doesn’t need a crack to get in — concrete and block are full of microscopic pores.
Which is why surface fixes fail. The pressure comes from behind the coating, so paint gets pushed off from the back. And foundations move, so a rigid coating splits. You need a film that bonds hard enough to resist being pushed off and flexes enough to move with the wall — which is what 1,300% elongation and a 234 PSI bond are for.
Basement questions
The ones worth asking.
My wall is damp right now. Can I apply it?
No, and this is the rule that matters most. The substrate has to be under 3% residual moisture or the coating traps it and stays tacky instead of curing. Dry the wall first. If it never fully dries, apply Natural Shield, let it cure, then coat.
Interior or exterior?
Both work. Exterior is the more durable fix because it stops water before it enters the wall, usually paired with a French drain. But most people can’t excavate, so they seal the interior instead and report the damp stopping. If you have the access, exterior is ideal; if not, interior still delivers.
Do I really need the cleaners?
If you want it to bond, yes. Basement walls carry efflorescence and mineral deposits that stop a coating adhering — that’s what Prep D removes. Skipping prep is the single most common reason a coating lifts.
Can I paint, tile or carpet over it?
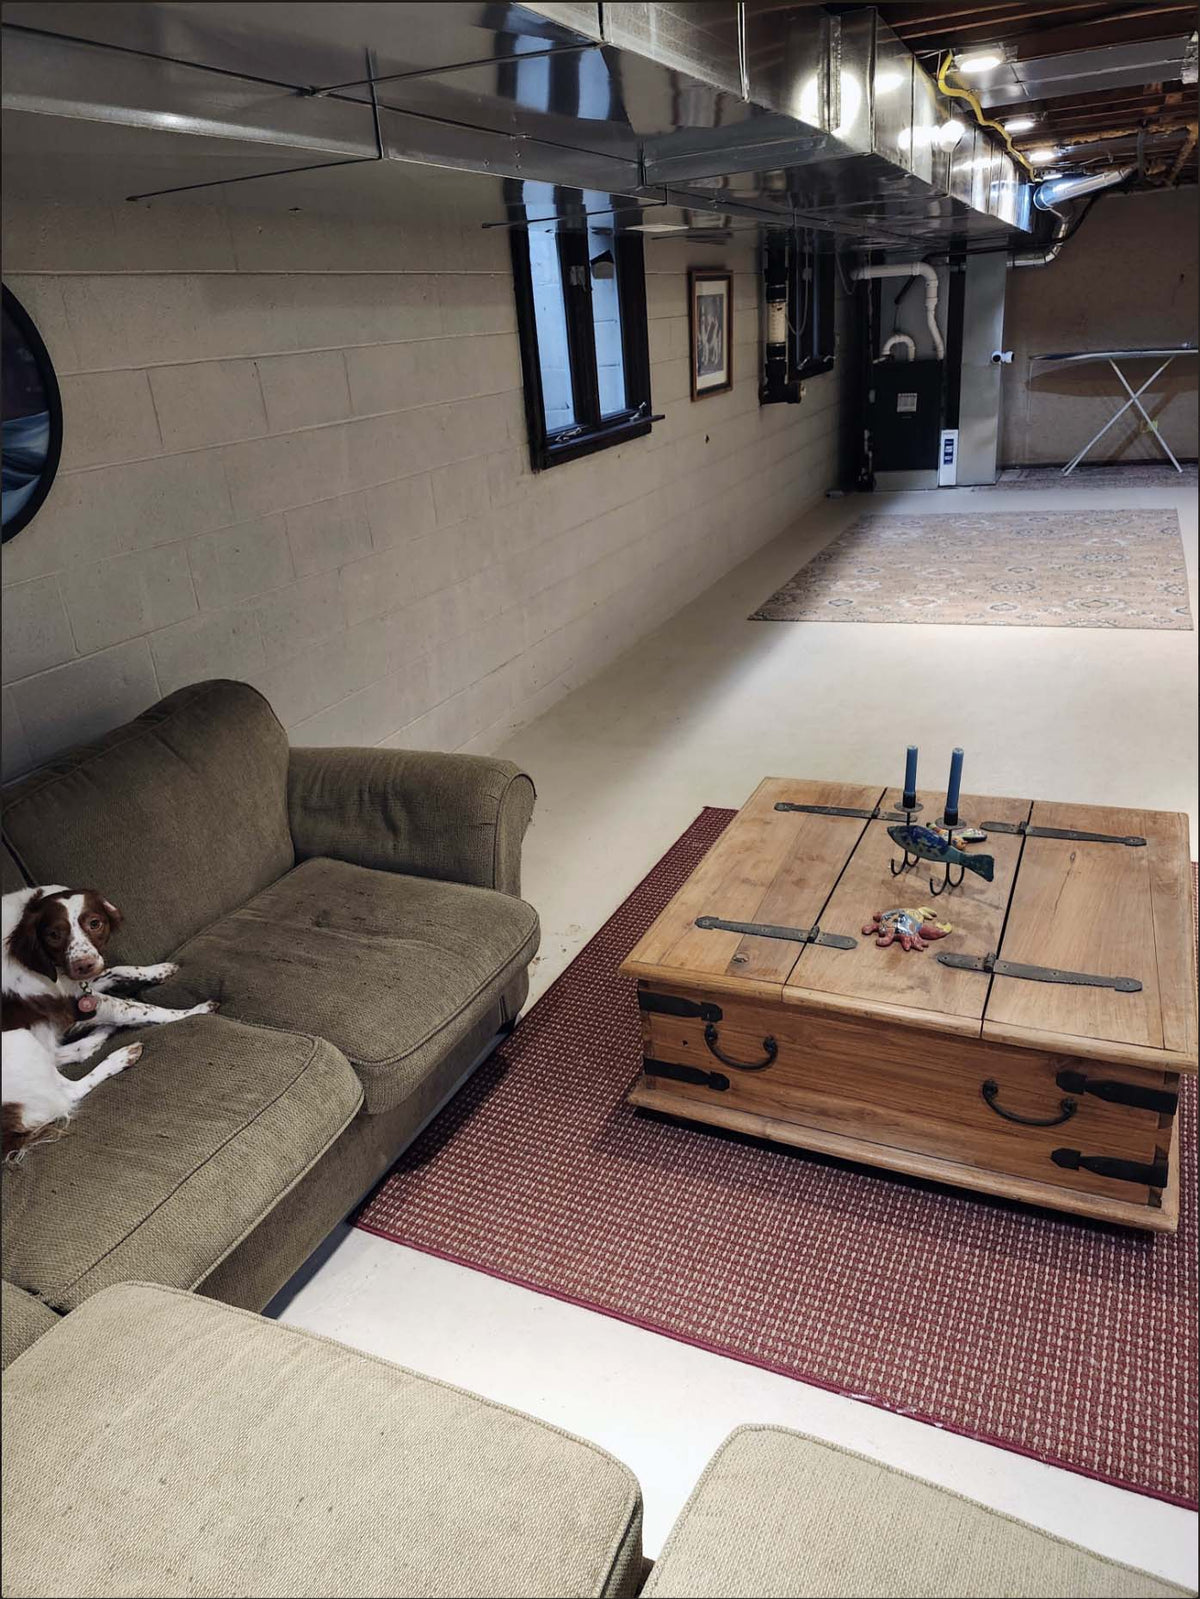
Yes, once fully cured. Water-based acrylic paint goes over it fine, tile can be set over it with your usual mortar, and customers have carpeted floors sealed with it. It makes a good base layer for finishing a basement — seal first, then finish.
Does it smell? I have a gas water heater down there.
It’s water-based and low-VOC at 14 g/L, so it’s low odor and one of the few waterproofers people are comfortable using in a closed basement. Reviewers have specifically chosen it to work around a gas water heater. Still ventilate reasonably while you work.
What if I’ve already painted the wall?
Remove anything loose or flaking — the membrane needs sound substrate to bond to. If the old coating is solid and well-adhered, test a small patch first.
How much do I need?
Plan on 200 sq ft per gallon at two coats. Porous block and rough old walls use more, so if you’re between sizes, size up. The calculator above does this for you.
Not sure about your basement? Call 1-833-211-2297 or use live chat — the team will check prep, coverage and cure timing before you start.
The full version
Detailed application instructions.
The four steps above, with the detail you’ll want while you’re actually doing it. Open what you need.
01 Clean the surface — Prep D
You’ll need: Nu-Lift Cleaner · Stone Soap
Basement walls and floors carry mineral deposits, efflorescence — that white chalky bloom — and old residue. None of it lets a coating bond.
- Remove loose paint, dust and debris. Scrape anything flaking.
- Wet the surface, then apply Nu-Lift Cleaner and work it in with a stiff bristle brush to lift mineral deposits and efflorescence.
- Rinse with fresh water.
- Follow with Stone Soap to remove the residue Nu-Lift released and rebalance the surface pH, then rinse again.
- Let it dry completely — hours, not minutes. This is the step people rush.
02 Bridge cracks wider than ¼"
You’ll need: Fabric Reinforcement · Liquid Membrane
Hairline cracks need nothing — the membrane spans those on its own. Anything wider will reopen and telegraph through unless it’s reinforced.
- Fill large cracks first with foam or hydraulic filler.
- Apply a generous coat of Liquid Membrane over the crack.
- Lay Fabric Reinforcement into the wet coating and press it flat.
- Wait 10–15 minutes.
- Coat over the fabric again to fully encapsulate it.
- Let it dry to the touch before moving on.
03 Mask off
Tape anything not being coated — frames, fixtures, pipe collars, the edge of a floor you’re stopping at.
04 Roll two coats
You’ll need: Liquid Membrane · ½" nap roller
- Check any pre-treated areas from step 2 are fully dry.
- Stir the product well. Pigments settle, and unstirred product gives uneven color.
- Apply a thin coat, about 0.015" (15 mil), over the whole surface including the pre-treated areas.
- Wait for the recoat window: it’s ready when you can walk on it without leaving residue, and can’t leave a fingerprint. Roughly 25–45 minutes at 72°F.
- Apply the second coat perpendicular to the first. Both coats go on the same day.
- Let it dry to touch — roughly 1–2 hours at 70°F and 50% humidity.
- Inspect for pinholes, voids and thin spots. It dries lighter, which makes them easier to see. Touch up with more membrane.
05 Let it cure
Initial cure is at least 7 days, and longer if the coats went on thick or the air is humid. Keep water off it for the whole window — the surface needs to be fully cured and hard before it sees any.
06 Seal the floor — if it takes traffic
Floors only · walls need nothing
The membrane is rated for light foot traffic. If your floor will carry regular walking, furniture, shelving, appliances or storage, add a topcoat — but only once the membrane is fully cured, not just dry to touch.
- Titan Shield Gloss — a water-based polyurethane hybrid and the tougher of the two. Three coats, roughly 150 sq ft per gallon. Choose it for heavy traffic or heavy objects standing on the floor.
- SEMCO Sealer MATTE — the same protection without the shine. Two coats, roughly 120 sq ft per gallon. Choose it for a finished basement where gloss would look wrong.
| Membrane coverage | ~200 sq ft per gallon at 2 coats |
| Coat thickness | 0.015" per coat · 0.03–0.04" total |
| Recoat window | When it holds no fingerprint — same day |
| Dry to touch | 1–2 hours at 70°F |
| Initial cure | 7 days minimum · longer if thick or humid |
| Temperature | 50–90°F · not in direct afternoon sun or over 85°F |
| Max substrate moisture | 3% |
| Cleanup | Warm water, straight after use |
Before you start
Additional information.
The manufacturer notes that decide whether this goes well. Most of the problems people report trace back to one of these.
Stop treating the symptom. Seal the wall.
Musty smell? Chalky white residue? Paint that keeps peeling? Seal it where the water enters.
Size my basement