
To waterproof a shower before tiling, roll or brush a liquid waterproofing membrane, like SEMCO Liquid Membrane, over the prepped backer board and pan in two coats (about 200 sq ft per gallon), reinforce every seam, corner, curb and drain with fabric, then let it cure before you set tile. It is certified to DIN EN 14891, the European standard for liquid-applied waterproofing beneath bonded ceramic tile, so it works as the primary waterproofing layer with no separate pan liner or sheet membrane underneath, and it functions as a complete shower waterproofing system on its own: one product for the walls, the pan, and every seam.
This guide covers why waterproofing matters, exactly how to do it step by step, how much you need, how a water-based membrane compares to silicone-based and sheet options, and how long to wait before you tile and flood-test.
In this guide
- Why you have to waterproof a shower before tiling
- What you need
- How to waterproof a shower, step by step
- How much SEMCO Liquid Membrane you need
- Can you tile over it, or over existing tile?
- Water-based membrane vs silicone-based coating vs sheet membrane
- Common mistakes that cause leaks
- FAQ
Why You Have to Waterproof a Shower Before Tiling
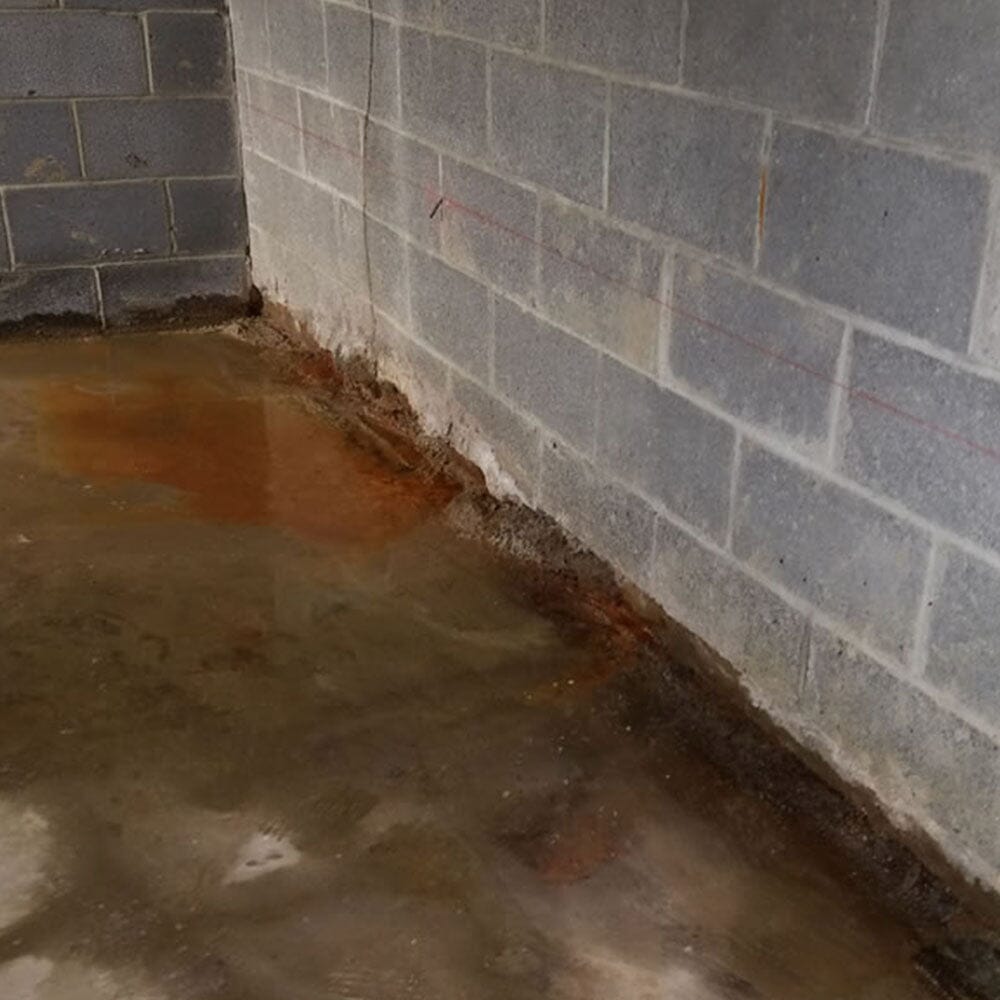
Tile and grout are not waterproof. Grout is porous, and no standard cement-based tile adhesive or grout stops water on its own. The backer board behind the tile is the other weak point: cement board tolerates moisture but lets it pass straight through to the wall framing behind it. Without a membrane, water works through the grout and board over months and years, and that is where mold, rotted framing, and tiles popping off a wall come from.
A waterproofing membrane is the layer that actually keeps water in the shower. It sits on top of your prepared walls and pan, under the tile, and forms one continuous barrier. SEMCO Liquid Membrane does this job as a flexible, elastomeric film with up to 1,300% elongation (ASTM D412), so it moves with the normal settling of the structure instead of cracking at the joints the way a rigid coating can. For a broader look at how this category of product works across surfaces beyond the shower, see our guide on what a liquid waterproofing membrane actually is.
What You Need
- SEMCO Liquid Membrane (quantity from the coverage section below)
- SEMCO Fabric Reinforcement for the seams, corners, curb and drain
- A half-inch nap roller and a brush for cutting in
- Cement or tile backer board on the walls (not drywall; see the FAQ)
- Your shower pan sloped and ready, with the drain flange set
- Cleaners for prep: SEMCO Nu-Lift Cleaner and Stone Soap if you are going over existing tile

How to Waterproof a Shower, Step by Step
This is the full process for applying SEMCO Liquid Membrane to a tile shower, walls and pan. If you would rather see the whole job laid out with photos first, our complete shower membrane guide walks through the same steps start to finish.
Step 1: Prep the surface
Make sure the backer board is sound and fastened, the pan is sloped correctly to the drain, and everything is clean, dry and free of dust. If you are coating over existing tile, clean it thoroughly first with Nu-Lift Cleaner and Stone Soap to strip soap residue, water deposits and any mold so the membrane can bond.
Step 2: Reinforce the joints with fabric
Before any field coats, reinforce the high-movement spots: all board joints, the wall-to-pan junction, the inside and outside corners, the curb, and around the drain flange. Apply a coat of membrane into the joint, press Fabric Reinforcement into it while wet with no bubbles, wait 10 to 15 minutes, then apply a coat over the fabric to encapsulate it. These joints are where showers leak, so do not skip them, and if you are unsure which fabric width or how much you need, see our breakdown of when fabric reinforcement is actually needed.

Embeds into the wet membrane at corners, the curb, board joints and the drain flange, where showers leak first.
Step 3: Apply the first coat
Roll or brush a generous, even first coat over the whole enclosure, walls and pan, working the membrane into the surface. Keep it even, with no thin spots. SEMCO goes on milky and darkens as it cures.
Step 4: Apply the second coat
Once the first coat holds no fingerprint, usually 25 to 45 minutes at about 72F, apply a second coat in the opposite direction to even out the thickness. Two coats is the standard for a shower.
Step 5: Inspect for pinholes
Check the entire enclosure under a bright light before any tile goes on. A single pinhole is a leak, and it is a two-minute fix now while you can still see the surface. Spot-coat anything you find. This step is exactly what separates a liquid membrane from a liner system you cannot see once it is installed; see what actually stops leaks behind the tile for more on this.
Step 6: Cure, tile, then flood-test
You can tile over the membrane once it is dry. Standing water has to wait for the full cure, 7 days minimum and longer in cool or humid weather, before you flood-test the pan or run the shower.
How Much SEMCO Liquid Membrane You Need
Plan on about 200 sq ft per gallon at two coats on backer board. Bare wood takes three coats and roughly half that coverage, since the wood drinks the first coat. A standard shower of about 3 ft by 5 ft works out to roughly 110 sq ft including the pan, so most single showers are a one to two gallon job. If you are between sizes, size up: seams, corners and the pan always take extra. For how that plays out in total project cost, see our shower waterproofing cost breakdown. The coverage calculator on the Shower Waterproofing page works out the exact amount for your enclosure.

DIN EN 14891 certified under tile, 14 g/L VOC, low odor, up to 1,300% elongation. About 200 sq ft per gallon at two coats.
Can You Tile Over It, or Over Existing Tile?
Yes to both. Once the membrane is dry you set tile directly onto it with standard thinset, no extra layer in between. Customers routinely tile the next day, and describe mortar bonding to it as if it were concrete.
You can also waterproof over existing tile if the tile is sound. Clean it thoroughly with Nu-Lift Cleaner and Stone Soap first to remove soap residue, water deposits and mold, then coat it the same way. That makes it a practical option for a bathroom refresh without tearing the old tile out. If you are starting from scratch rather than refreshing, our note on waterproofing a shower before tiling covers the sequencing in more detail.
Water-Based Membrane vs Silicone-Based Coating vs Sheet Membrane
All three keep water out from under the tile. The differences are how you install them, how you inspect them, and whether the product does anything beyond a shower. If you are comparing bathroom waterproofing systems in general, not just liquid membranes, these three categories cover almost everything sold for a tile shower.
| Factor | SEMCO Liquid Membrane (water-based) | Silicone-based coating | Sheet membrane |
|---|---|---|---|
| How it installs | Rolled or brushed on, seamless | Rolled or troweled on, seamless | Sheets bedded in thinset, seams taped |
| Can you inspect it | Yes, find and fix a thin spot before tiling | Yes, same principle | Seams are hidden in thinset |
| Flexibility | Up to 1,300% elongation | Elastomeric, figures vary by product | Flexible sheet |
| Odor while curing | Water-based, 14 g/L VOC, low odor | Often more noticeable until fully cured | None |
| Certification | DIN EN 14891 as primary waterproofing under tile | Commonly ANSI A118.10, varies by product | Commonly ANSI A118.10, varies by product |
| Works outside a shower | Yes: pools, decks, roofs, below grade | Mostly tile and wet areas | Mostly tile and wet areas |
The practical case for a liquid membrane in a shower is that you can see what you did. With a sheet system the seams are bedded in thinset and hidden, so a missed seam shows up as a leak later. With a liquid membrane you inspect the whole surface under a light and fix a thin spot before a tile goes on. For a deeper look at how a water-based formulation holds up against both of those categories outside the shower, see our guide on water-based alternatives to rubber-based coatings and our full water-based vs silicone-based shower comparison.
Common Mistakes That Cause Leaks
- Skipping the membrane because you used cement board. Cement board is not waterproof. Water passes through it to the wall behind. The membrane over the board is what stops it.
- Not reinforcing the joints. The wall-to-pan junction, corners, curb and drain move the most and leak first. Fabric reinforcement there is not optional.
- Coating too thin, or missing pinholes. One thin coat rarely reaches the thickness a shower needs. Apply two coats and inspect under a light.
- Tiling or flood-testing too early. Tile once it is dry, but wait the full 7-day cure before standing water.
- Waterproofing over drywall in the wet area. Use cement or backer board in a wet enclosure, then coat the board. If you are weighing whether drywall needs waterproofing at all outside the wet zone, see our drywall waterproofing guide.
Frequently Asked Questions
Do I still need a waterproofing membrane if I used cement board?
Yes. Cement board tolerates water but does not stop it, so moisture passes straight through to the wall behind. The membrane over the board and its seams is what keeps water out. Embed Fabric Reinforcement on every board joint and the floor-to-wall joint before you coat.
Can I tile directly onto SEMCO Liquid Membrane?
Yes, with standard thinset once it is dry. Many customers tile the next day, and one described mortar bonding to it as if it were concrete.
How long before I can tile and flood-test the shower?
You can tile once the membrane is dry. Standing water has to wait for the full cure, 7 days minimum and longer in cool or humid weather, before you flood-test the pan or use the shower.
Does it smell? It is an enclosed bathroom.
It is water-based at 14 g/L VOC, so it is low odor. The comparison people often draw is with the stronger, more solvent-like smell of some ready-to-use membrane paints. An open window is enough here.
How does it compare to a silicone-based membrane?
Both are liquid membranes that go under tile and install the same way, rolled or troweled on as a seamless coat. SEMCO is certified to DIN EN 14891 as primary waterproofing beneath tile, has up to 1,300% elongation, and is not limited to showers; the same product does pools, decks, roofs and below-grade walls. Silicone-based coatings vary more product to product on published flexibility and odor.
Will the shower pan be slippery?
No. A shower pan is tiled over, so the membrane is not the walking surface. Even left exposed, customers who worried about it reported it was not slippery.
What counts as a complete shower waterproofing system, not just a product?
A shower waterproofing system is the membrane plus the reinforcement at every joint, not the coating alone. SEMCO Liquid Membrane on the walls and pan, with Fabric Reinforcement embedded at the wall-to-pan junction, corners, curb and drain, is a complete system on its own: no separate pan liner, sheet membrane, or bonding primer is layered underneath it.
Is this the same as a bathroom waterproofing system for the whole room, not just the shower?
The shower enclosure, walls and pan, is where a bathroom waterproofing system matters most, since that is where water stands and sprays directly on the surface. The same liquid membrane extends to the rest of a wet bathroom, for example coating plywood subfloor before tile or sealing a backer board wall outside the shower itself, using the same prep and coat count described above.
Ready to waterproof your shower the right way?
SEMCO Liquid Membrane is a DIN EN 14891 certified, low-odor, DIY-friendly membrane that goes on in a weekend and tiles the next day.
Shop Shower Waterproofing →Free shipping on orders over $99. 5-year standard limited warranty.
Related reading:
- HOW TO USE SEMCO Liquid Membrane Sealant AS A SHOWER LINER FOR MAXIMUM WATERPROOFING
- Shower Waterproofing Membrane: The Complete DIY Guide Before Tiling
- WATERPROOFING SHOWERS BEFORE TILING
- Shower Waterproofing Membrane: What Actually Stops Leaks Behind the Tile
- What Does It Cost to Waterproof a Shower Before Tiling? 2026 DIY vs Pro Breakdown