Water damage is a common problem in many homes, and one of the most susceptible areas to this issue is the shower. This innovative solution offers numerous benefits, and we'll discuss every step of the process, from preparation to maintenance. So, let's dive in and learn how to protect your shower and your home from water damage.
Benefits of using SEMCO Liquid Membrane Waterproofing Sealant as a Shower Liner
SEMCO Liquid Membrane is an excellent choice for use as a shower liner due to its numerous benefits. Let's take a look at the Top 3.
-
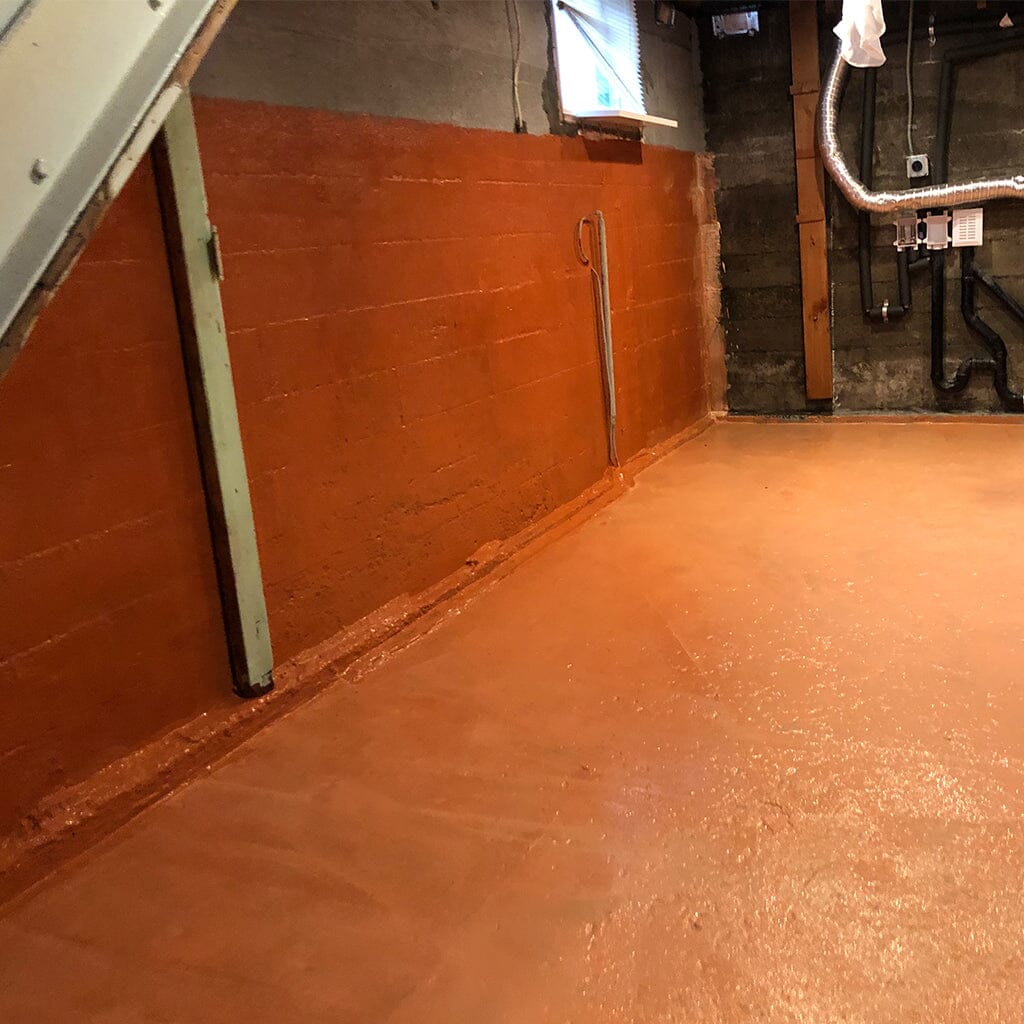
Superior Waterproofing: SEMCO Liquid Membrane offers exceptional waterproofing capabilities. This ensures that your shower area remains protected from water damage, and it reduces the risk of mold and mildew growth.
-
Ease of Application: Unlike other waterproofing solutions, SEMCO Liquid Membrane is incredibly easy to apply. This means that you can complete the job quickly and without the need for professional assistance, saving both time and money.
-
Durability: SEMCO Liquid Membrane is a highly durable and long-lasting solution. This means that you won't have to worry about frequent reapplications or premature wear and tear. Your shower liner will stay in place and continue to provide maximum waterproofing for years to come.
Preparing your shower
Before you begin applying SEMCO Liquid Membrane as a shower liner, it's essential to properly prepare the area. Here are the simple steps you're going to want to take in advance.
-
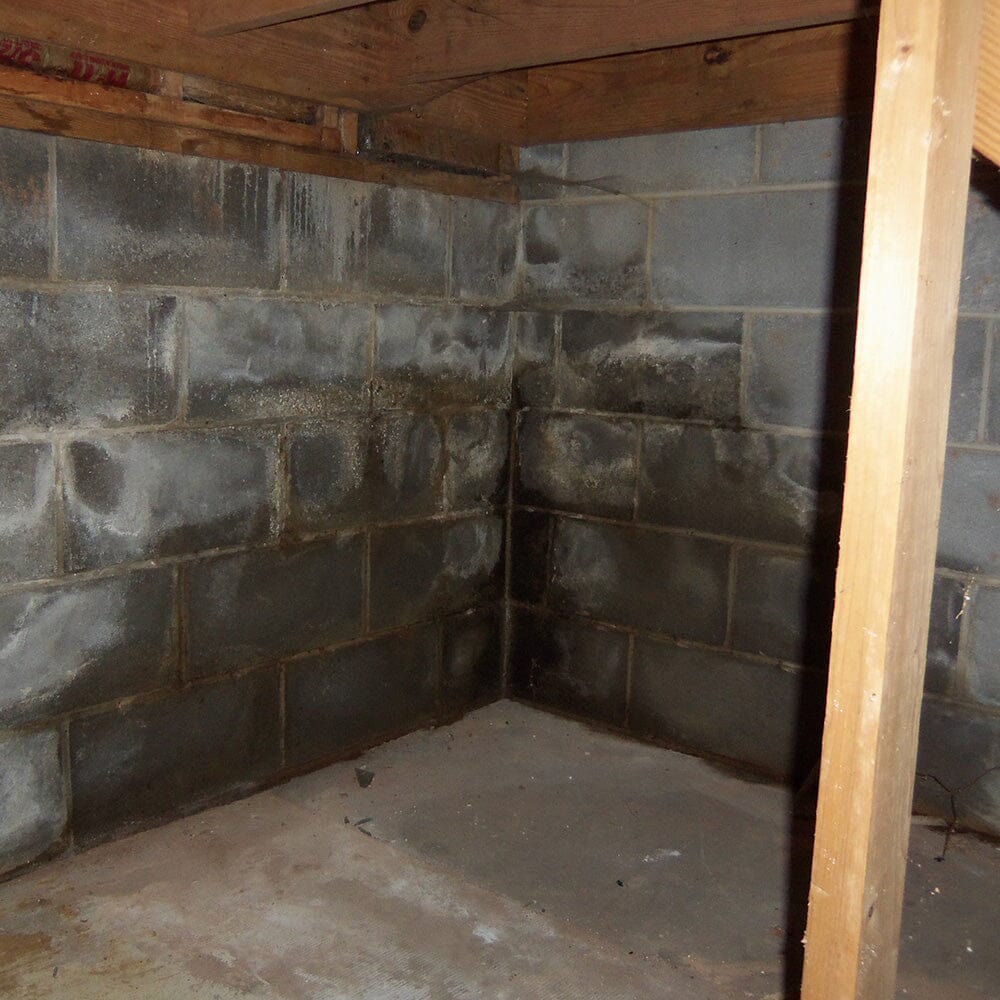
Clean the surface: Start by thoroughly cleaning the shower area, removing any dirt, dust, oils, silicone, soap scum, or mold. This ensures that SEMCO Liquid Membrane adheres properly to the surface. Here we are offering our Prep System to properly prepare the surface.
-
Repair any damage: Inspect the shower area for any cracks, holes, or other damage that could compromise the effectiveness of the waterproofing membrane. Repair these issues before applying the sealant. If you have any cracks wider than 1/4", use our Fabric Reinforcement to bridge the crack and to avoid any future crack transfer into the surface.
- Primer: Unlike our competitors, SEMCO Liquid Membrane does not require a primer in order to adhere to a surface which will save you time during the application.
Step-by-step guide on how to use SEMCO Liquid Membrane as a shower liner
Now that your shower area is prepared, it's time to apply the SEMCO Liquid Membrane Waterproofing Sealant.. Follow these steps for a successful application:
-
Mix the sealant: Before using SEMCO Liquid Membrane, it's essential to mix it up thoroughly. Use a drill with a mixing paddle attachment to mix the product until it reaches a uniform consistency. Use low speed when mixing to avoid trapping air in the coating.
-
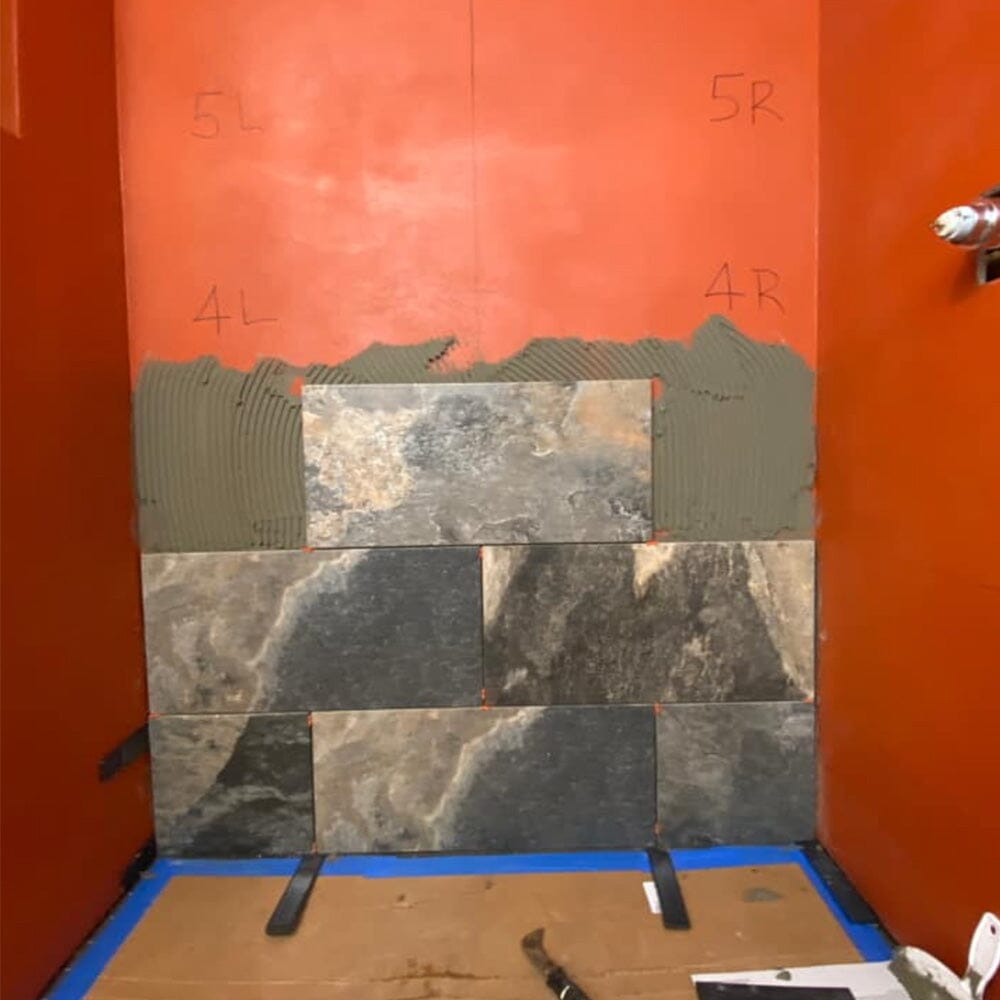
Detail the Seams: Seams and corners need to be detailed with our Fabric Reinforcement. This prevents the waterproof coating from cracking or tearing along the joints.
-
Apply the first coat: Use a brush, roller, or airless sprayer to apply the first coat of SEMCO Liquid Membrane to the shower area. Be sure to cover all surfaces, including corners and seams, to create a seamless waterproofing membrane.
-
Allow the first coat to dry: Give the first coat of SEMCO Liquid Membrane adequate time to dry. This typically takes around 1.5 - 2 hours, depending on temperature and humidity levels.
-
Apply additional coats: Once the first coat is dry, apply the second coat of SEMCO Liquid Membrane. Each coat should be around 15 - 20 mil in thickness. This will ensure maximum waterproofing and durability.
-
Inspect the application: After the second coat has dried, inspect the shower area to ensure that the SEMCO Liquid Membrane has been applied evenly and thoroughly. Address any missed spots or areas that require additional coverage.
Drying time and curing
The drying time and curing process of SEMCO Liquid Membrane are crucial factors in ensuring a successful waterproofing application. As mentioned earlier, the product typically takes around 1.5 - 2 hours to dry between coats. However, it's essential to allow the final coat to cure fully before using the shower area.
The curing process for SEMCO Liquid Membrane can take anywhere from 5 to 7 days, depending on temperature and humidity levels. It's essential to wait until the product has fully cured before exposing it to water, as this will ensure maximum waterproofing and durability. However if you wish to tile over the surface, you can do it the next day already.
Common mistakes to avoid
-
Applying the product too thinly: Be sure to apply the SEMCO Liquid Membrane at the recommended thickness to ensure maximum waterproofing protection.
-
Applying the product too thick: Exceeding the recommended thickness can prolong the drying and curing process of the SEMCO Liquid Membrane exponentially.
-
Failing to properly prepare the surface: As previously discussed, proper surface preparation is essential for a successful application. Don't skip this crucial step.
-
Not allowing adequate drying and curing time: Give the product enough time to dry between coats and fully cure before exposing it to water. Failing to do so can compromise the waterproofing membrane.