Plywood, the unsung hero of construction and DIY projects, provides unmatched versatility. However, its Achilles' heel is water vulnerability. The good news? Waterproofing plywood is not just possible; it's a strategic move that can significantly extend its lifespan. In this blog post, we'll explore the effectiveness of SEMCO Liquid Membrane, a powerful waterproofing product, and guide you through the process of preparing, applying, and mastering the art of waterproofing plywood.
Can Plywood Really be Waterproofed?
Absolutely! Waterproofing plywood is a smart and proactive strategy to shield your projects from the potentially damaging effects of water. Whether you're working on outdoor furniture, decks, or marine applications, safeguarding your plywood against moisture is a game-changer for its longevity and structural integrity.
The Magic of SEMCO Liquid Membrane
-
Durable Protection
SEMCO Liquid Membrane creates a weatherproof and flexible barrier on the plywood surface, providing durable protection against moisture. Its advanced formula is designed to repel water effectively, preventing issues like warping, swelling, and rotting. -
Versatility
Whether you're working on a deck, outdoor furniture, or marine plywood, SEMCO Liquid Membrane proves versatile in its application. Its adaptability makes it a go-to choice for a range of projects exposed to different weather conditions. -
UV Resistance
One standout feature of SEMCO Liquid Membrane is its UV resistance. This quality protects the plywood from sun damage, ensuring that it retains its original appearance and color even under prolonged exposure to sunlight. -
Ease of Application
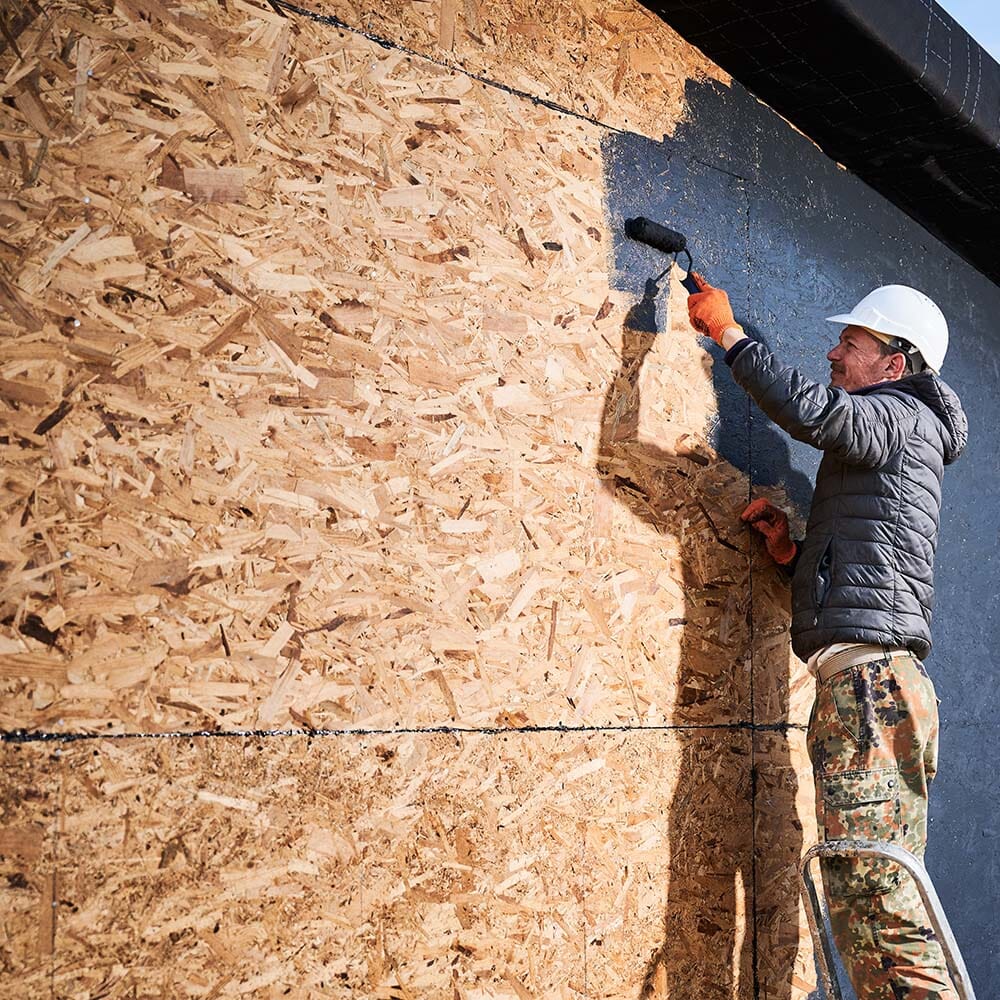
SEMCO Liquid Membrane is user-friendly, allowing for easy application with a brush, roller, or sprayer. Its simplicity in use makes it accessible for both DIY enthusiasts and professionals.
How to Prepare and Apply Semco Liquid Membrane
-
Surface Preparation
Before applying SEMCO Liquid Membrane, sand the plywood with 60-grit to remove dirt and any remnants of previous coatings, then vacuum off the dust. Don't use a liquid cleaner on bare wood, and make sure it is dry, at 3% moisture or less. This initial step is crucial for optimal adhesion and the effectiveness of the waterproofing. -
Application
Use a brush, roller, or sprayer to apply SEMCO Liquid Membrane evenly across the plywood surface. Pay extra attention to seams, edges, and joints to ensure comprehensive coverage. We always recommend using Fabric Reinforcement on any joints or seams prior to applying a coat to the entire surface. Bare plywood needs 3 coats, each at 15 to 20 mil and about 100 sq ft per gallon overall, because the first coat soaks into the wood. -
Drying Time
Recoat when the previous coat holds no fingerprint, and allow the full 7-day minimum cure before heavy use or water exposure. Times run longer in cool or humid weather. Patience during this stage ensures the formation of a robust and effective waterproof barrier.
Tips for Waterproofing Plywood Successfully
-
Follow Product Guidelines
Always adhere to the guidelines provided by SEMCO for their Liquid Membrane. These guidelines offer specific instructions on application, drying times, and any additional steps required for optimal performance. -
Apply in Suitable Conditions
Choose a day with favorable weather conditions for application. Avoid applying SEMCO Liquid Membrane in extreme temperatures, high humidity, or direct sunlight. Ideal conditions provide the product with the right environment to bond effectively with the plywood surface. -
Inspect and Repair
Before waterproofing, thoroughly inspect the plywood for any damage or defects. Repair any issues before applying SEMCO Liquid Membrane to ensure a seamless protective layer.
Waterproofing plywood with SEMCO Liquid Membrane is not only feasible but also a strategic step towards enhancing the longevity and resilience of your projects. The product's durability, versatility, UV resistance, and ease of application make it a standout choice. By following the proper preparation and application steps, along with some helpful tips, you can master the art of waterproofing plywood, ensuring that your creations withstand the tests of time and the challenges of exposure to the elements.
Related reading:
- What Is a Liquid Waterproofing Membrane? The Complete Guide
- SEMCO LIQUID MEMBRANE - The Ultimate Guide and Solution to your Waterproofing Needs
- Ultimate Guide to Waterproofing CMU Walls with SEMCO Liquid Membrane
- Why Surface Prep Makes or Breaks Your Waterproofing Job (And How to Do It Right)
- Liquid Rubber Alternatives: A Longer-Lasting Way to Waterproof