Basement leaks can wreak havoc on your home, leading to a cascade of problems like water damage and mold growth. Addressing these issues head-on requires a comprehensive approach, and SEMCO Liquid Membrane stands out as a reliable solution. In this post, we'll delve into three essential tips, guide you through the application process, discuss post-application maintenance, and highlight the cost-effectiveness that SEMCO Liquid Membrane offers for a waterproof basement.
Tip 1: Identify and Address Weaknesses
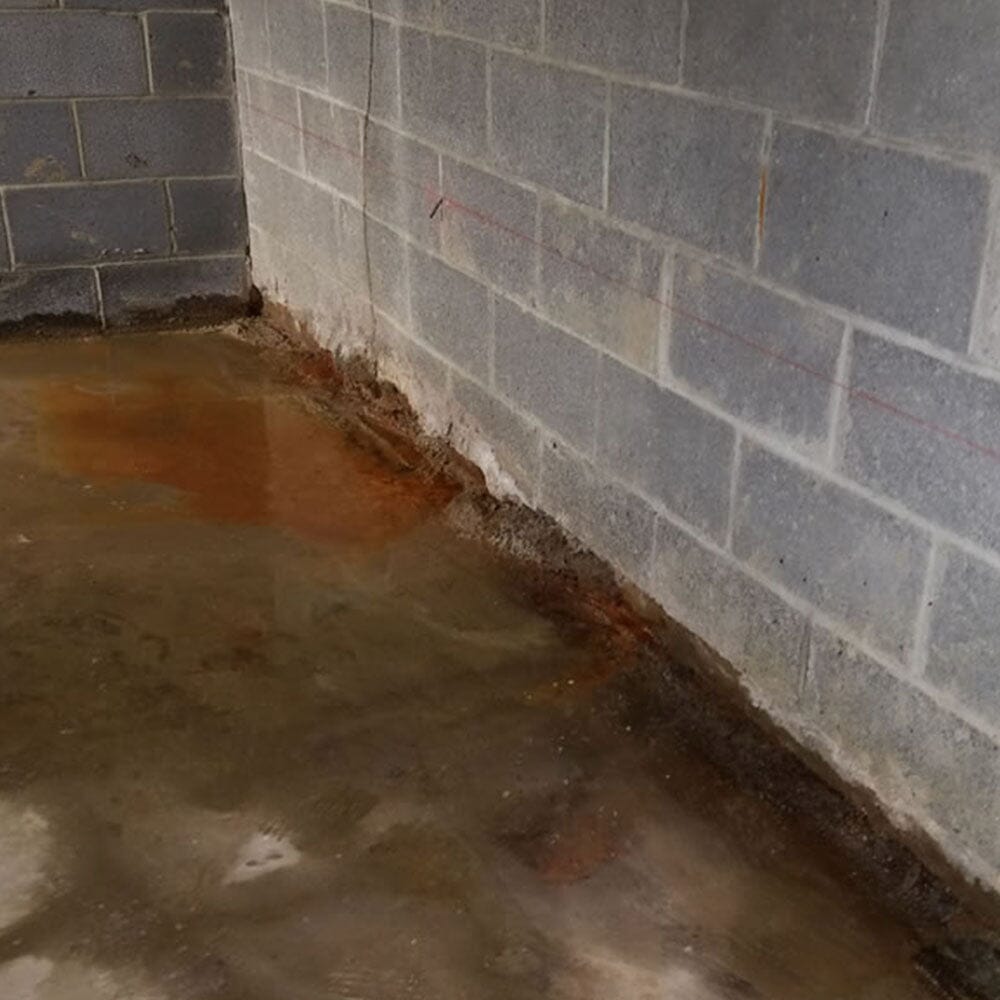
Understanding the root cause of basement leaks is paramount. Begin by thoroughly inspecting your basement walls for visible cracks, gaps, or areas where water might infiltrate. Addressing these weaknesses is the first step toward effective waterproofing.
After identification, focus on reinforcing vulnerable points. SEMCO Liquid Membrane, while potent, benefits from a proactive approach. Apply an extra layer around potential problem areas like corners, joints, and pipe penetrations. This targeted reinforcement ensures that your membrane acts as an impenetrable barrier, guarding against water intrusion.
Tip 2: Meticulous Surface Preparation
Maximize the effectiveness of SEMCO Liquid Membrane by preparing your basement walls meticulously. Clean the surfaces thoroughly, removing loose debris, dirt, or remnants of old coatings. A clean and dry surface is crucial for optimal adhesion.
Tip 3: Focus on Even Application
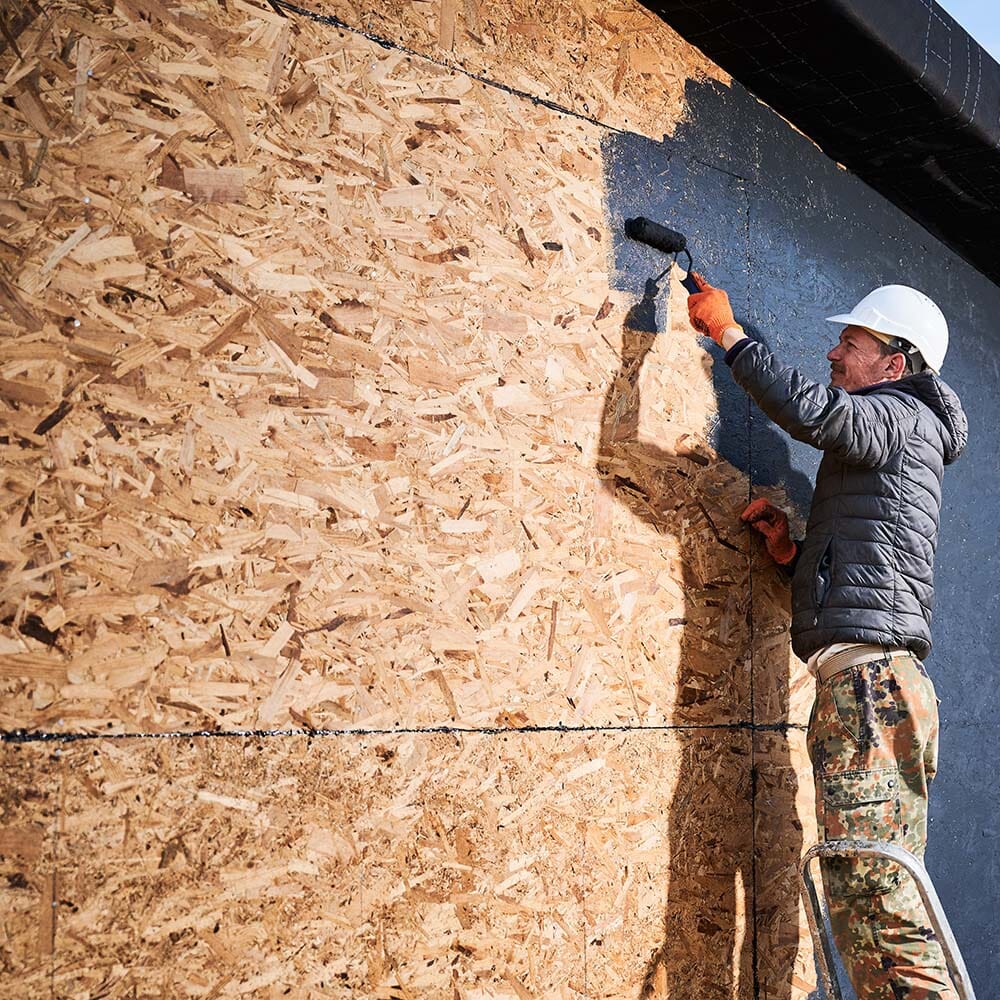
As you embark on the application process, employ a suitable brush or roller for an even and comprehensive application of SEMCO Liquid Membrane. Begin from the top and work your way down, ensuring complete coverage. This step is critical to creating a uniform and robust barrier against basement leaks.
Follow the manufacturer's specific application guidelines diligently. SEMCO provides instructions tailored for optimal results, guiding you through the process to achieve maximum effectiveness.
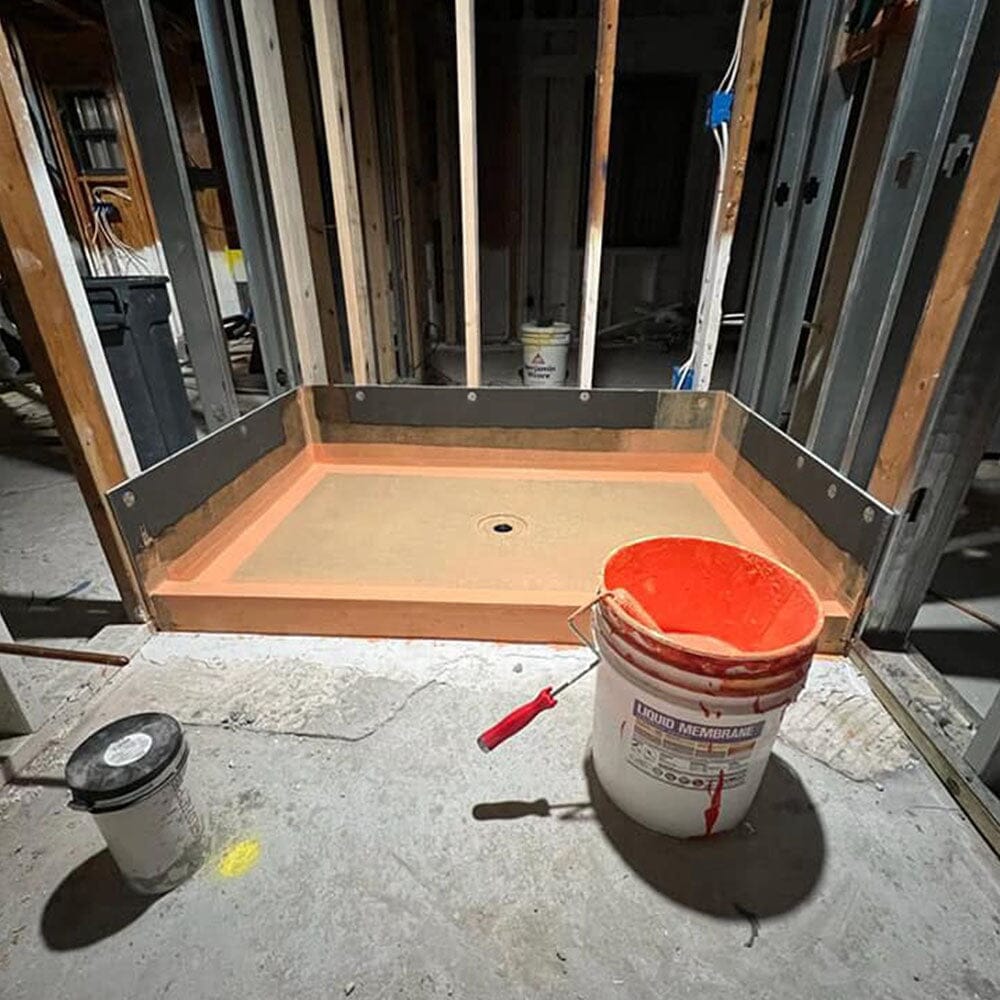
Application Process for SEMCO Liquid Membrane
-
Initial Coat ( First Coat )
Begin by applying an even coat of SEMCO Liquid Membrane to the prepared surface. Pay special attention to areas identified as potential weak points during your inspection.
-
Drying Time and Additional Coats
Before applying your second coat, ensure the first coat is dry enough. Best method to check this is by pressing a finger onto the surface, once it does not leave any imprints, you can go ahead and apply your second coat. This incremental approach builds strength over time, creating a durable defence against water infiltration. -
Final Inspection
Once the application process is complete, conduct a final inspection to ensure thorough coverage. This step ensures that your basement is equipped with a reliable and effective waterproofing solution.
While some waterproofing solutions can be expensive, SEMCO Liquid Membrane offers a cost-effective alternative. Its ease of application, longevity, and effectiveness make it a wise investment for homeowners looking to protect their basements without breaking the bank.
In conclusion, stopping basement leaks is achievable with SEMCO Liquid Membrane, combining strategic tips, a meticulous application process, and proactive maintenance. As a cost-effective solution, it not only safeguards your home against water damage but also ensures long-term protection and peace of mind. Invest wisely and seal the deal with SEMCO Liquid Membrane for a dry and secure basement.