In this guide we’ll be getting down to the business of prepping and painting your pool.Let’s get started!
Step 1: Time Your Pool Painting Project
The weather and temperature have everything to do with how well and quickly a pool painting project will go. Typically, you should try to find a stretch of time of a minimum of one to two weeks where there will be no rain. This can be a bit tricky during springtime.
Avoid application if the temperature is below 40 degrees F, above 90F, or if it is extremely humid. Avoid high winds that blow all kinds of debris into your pool during the application or drying period.
Step 2: Prep Your Pool for SEMCO Liquid Membrane™
Prepping your pool for SEMCO Liquid Membrane™ includes:
- Draining the pool
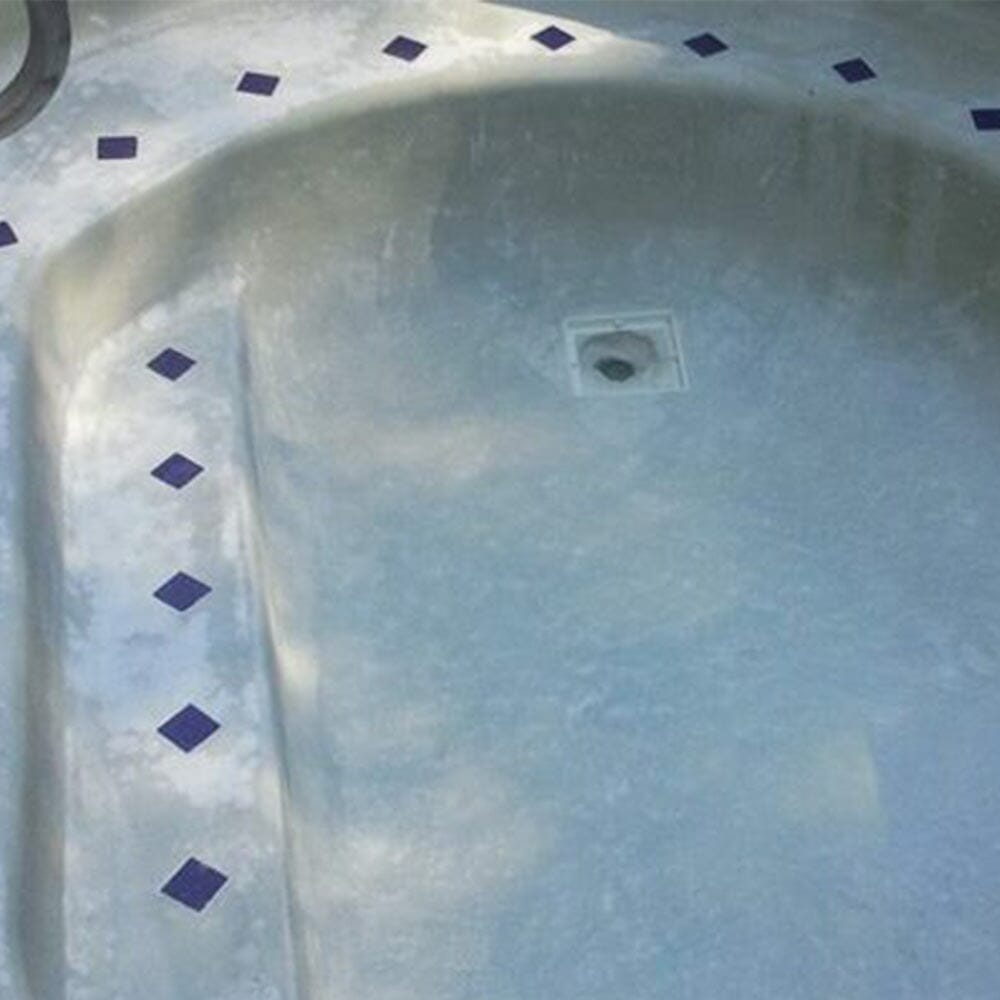
- Scraping away loose paint; repair and fill any cracks or hollow spots. For fiberglass pools we recommend also a light sand across the surface.
- Rinse and scrub with our products for surface prep
- Rinsing the pool to remove any surface prep residue
- Pump out any remaining water and let dry completely (3-5 days depending on weather conditions)
- Mask off any lights, tiles, and fittings with painter’s tape
Step 3: Apply SEMCO Liquid Membrane™
Now that your pool has been prepped and is completely dry, we’re ready to paint to apply SEMCO Liquid Membrane™. Remember to mix the product thoroughly. Use a power drill with a mixing paddle to ensure that your the color pigment is mixed properly. When painting you want to start at the deep end and work your way to the shallow end. Use a telescoping pole to reach all the way up the walls.

Use a short nap roller, 1/2” inch nap roller, for smooth surfaces. Buy a wooden extension pole that you can screw into the roller frame so that you can roll the paint more easily. Overlap just slightly and use an even pressure for the best finish. Use a small cut-in brush to handle the 90 degree corners around steps and swim outs.
The SEMCO Liquid Membrane™ requires multiple coats (total thickness for submerged applications is a minimum of 60 mil), follow the appropriate directions and never rush a second coat if the first coat is not ready. It can take 2-8 hours for a coat of SEMCO Liquid Membrane™ to dry, depending on temperature, wind and humidity. Work fast but steadily and monitor the amount of product that you are using, so that you don’t end up running short on paint, or having much left over.
Step 4: After Painting the Pool
You have finished painting the pool. Looks good, doesn’t it? You can now remove any painter’s tape. Before thinking about doing anything crazy, like filling the pool with water right away – make sure you have given the SEMCO Liquid Membrane™ sufficient time to cure. Usually this is 6-7 days depending on temperature and humidity. If you get any rain or moisture during the drying time, make sure you are removing the water as fast as possible and allowing for extra dry time if the rain lasts for more than an hour or two.

Step 5: Filling the Painted Pool
When the pool paint is completely dry:
- Fill the pool with water without stopping until full
- Balance the pH, alkalinity, and hardness levels
- Start up the filter system and add chlorine tablets
- Add chlorine stabilizer and stain away
- Resume your normal chemical maintenance
Enjoy Your Painted Pool!
Now the only thing to do is to enjoy the fruits of your labor!